Adding a Single Item in Arda
Last updated: July 2, 2026
Add Single Item Efficiently In Arda Workspace
This article explains how to add a single item in the Arda workspace. You will learn the step-by-step process to enter item details, supplier information, pricing, and publish the item successfully.
Go to www.live.app.arda.cards
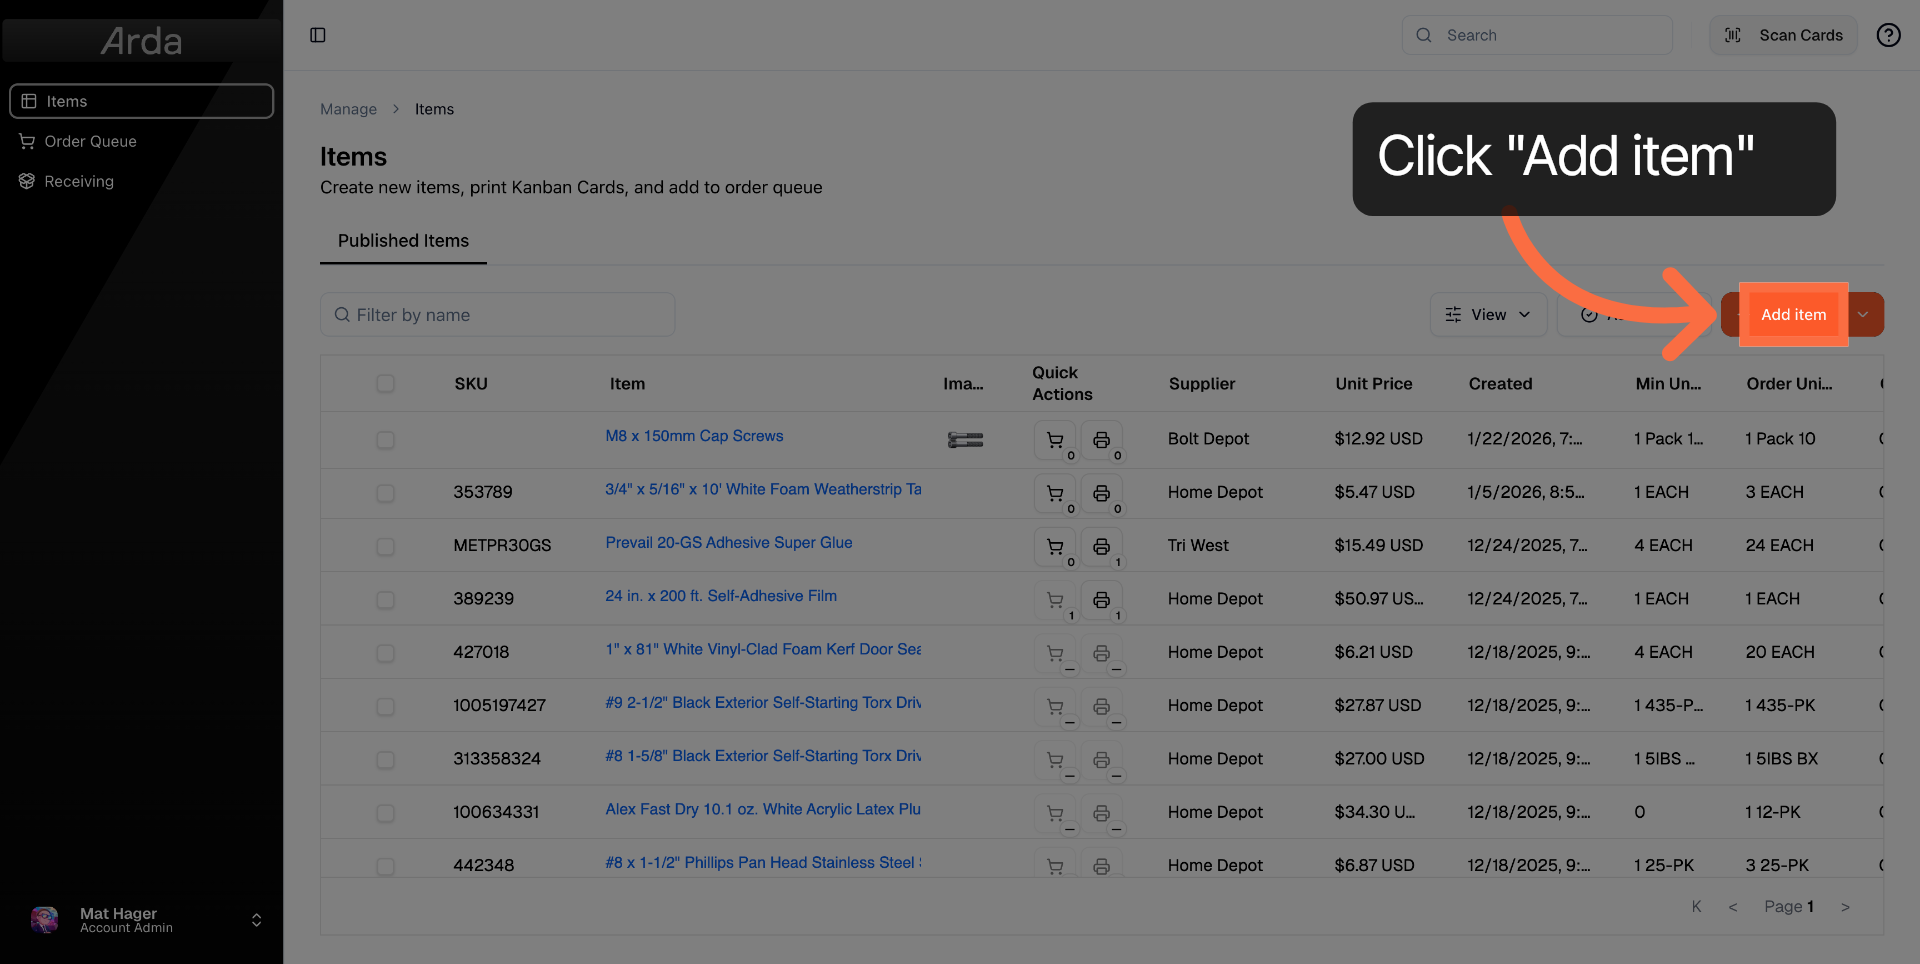
1. Click Add Item Button
Click the Add item button to start adding a new item in the Arda workspace.
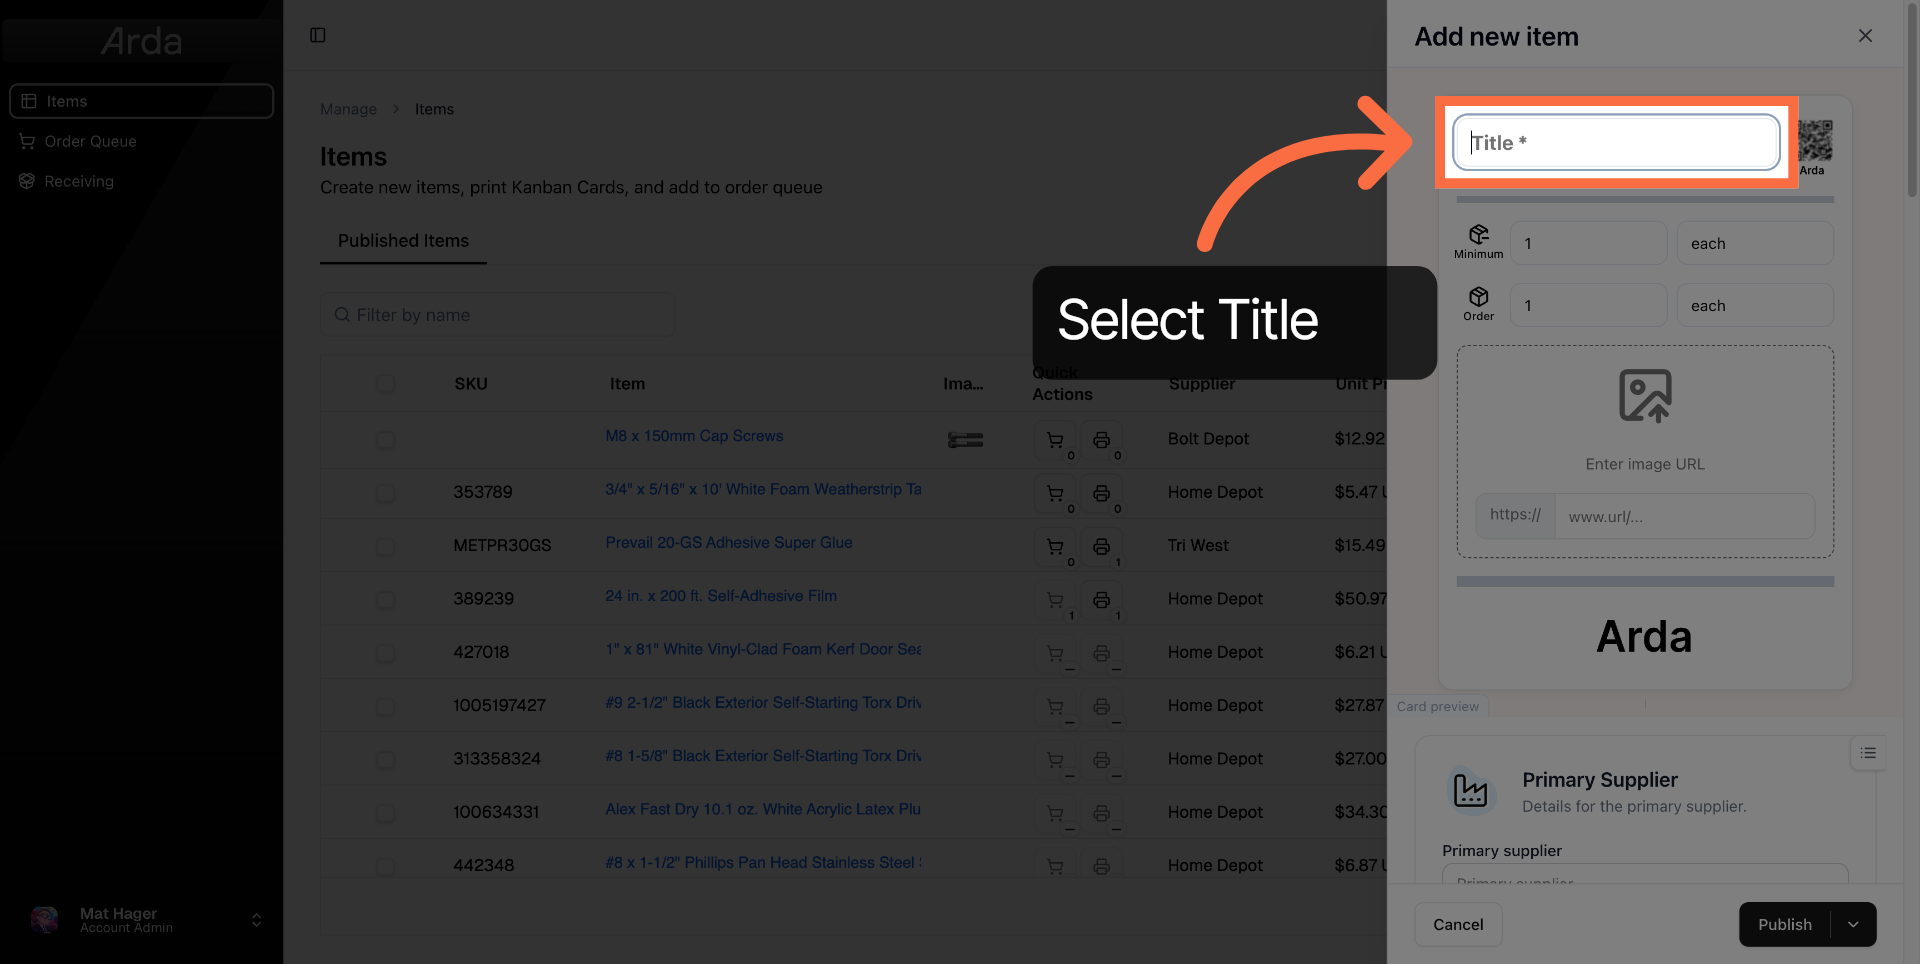
2. Select Title Field
Click the Title field to specify the name of the item you want to add. This is the only required field when creating an item
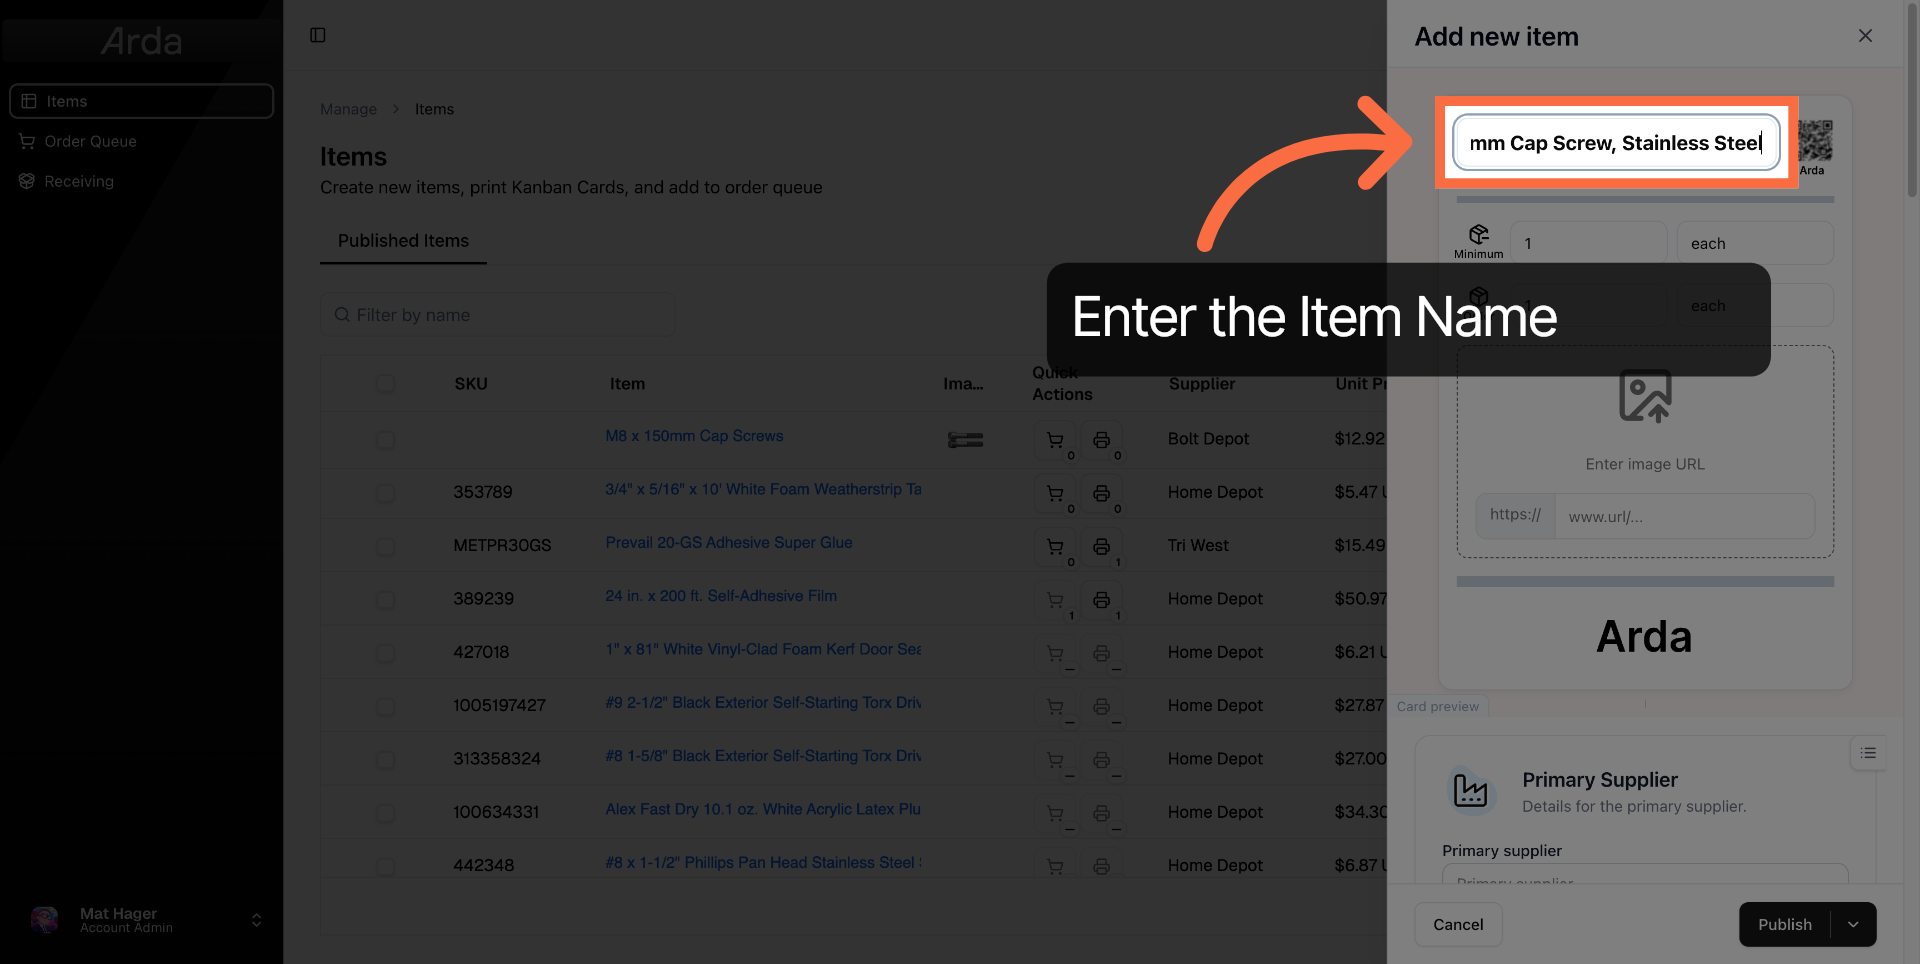
3. Enter Item Title
Enter the item title by typing the description of the item, such as the type and specifications.
4. Select Quantity Field
Click the quantity field to specify the amount of the item you are adding.
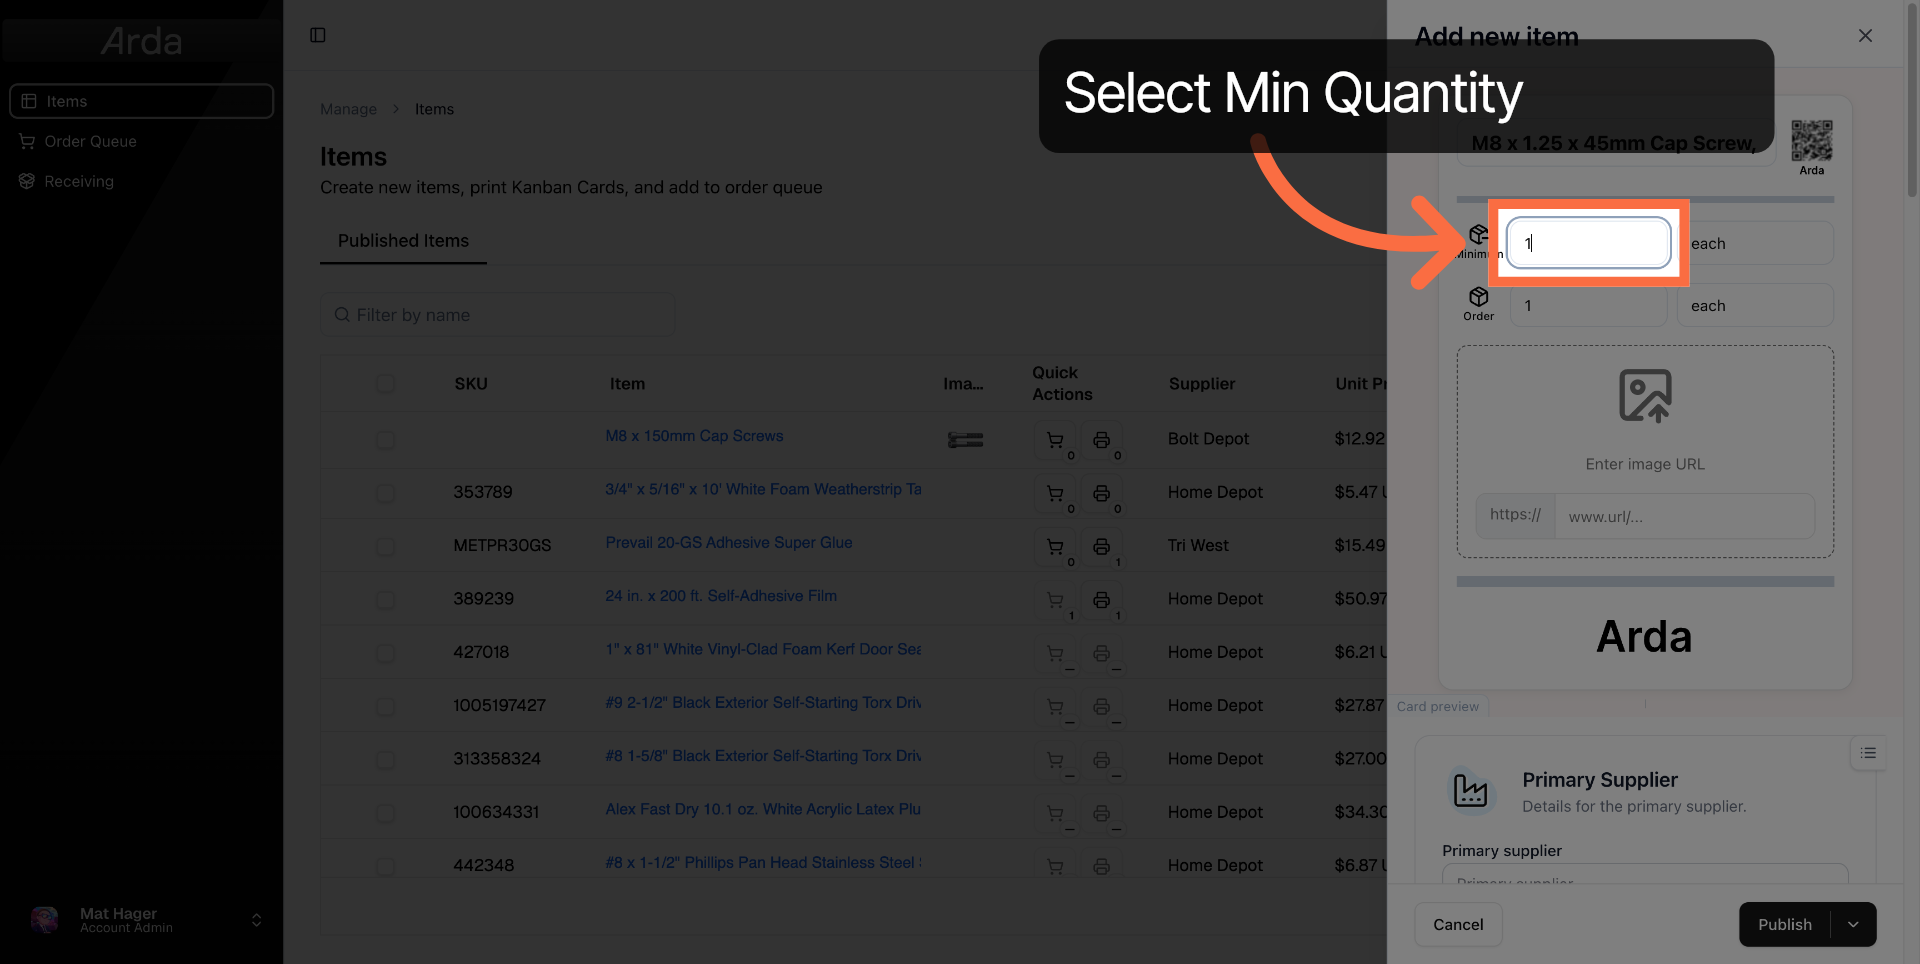
5. Enter Quantity Value
Enter the quantity value to indicate how many units of the item you want to add.
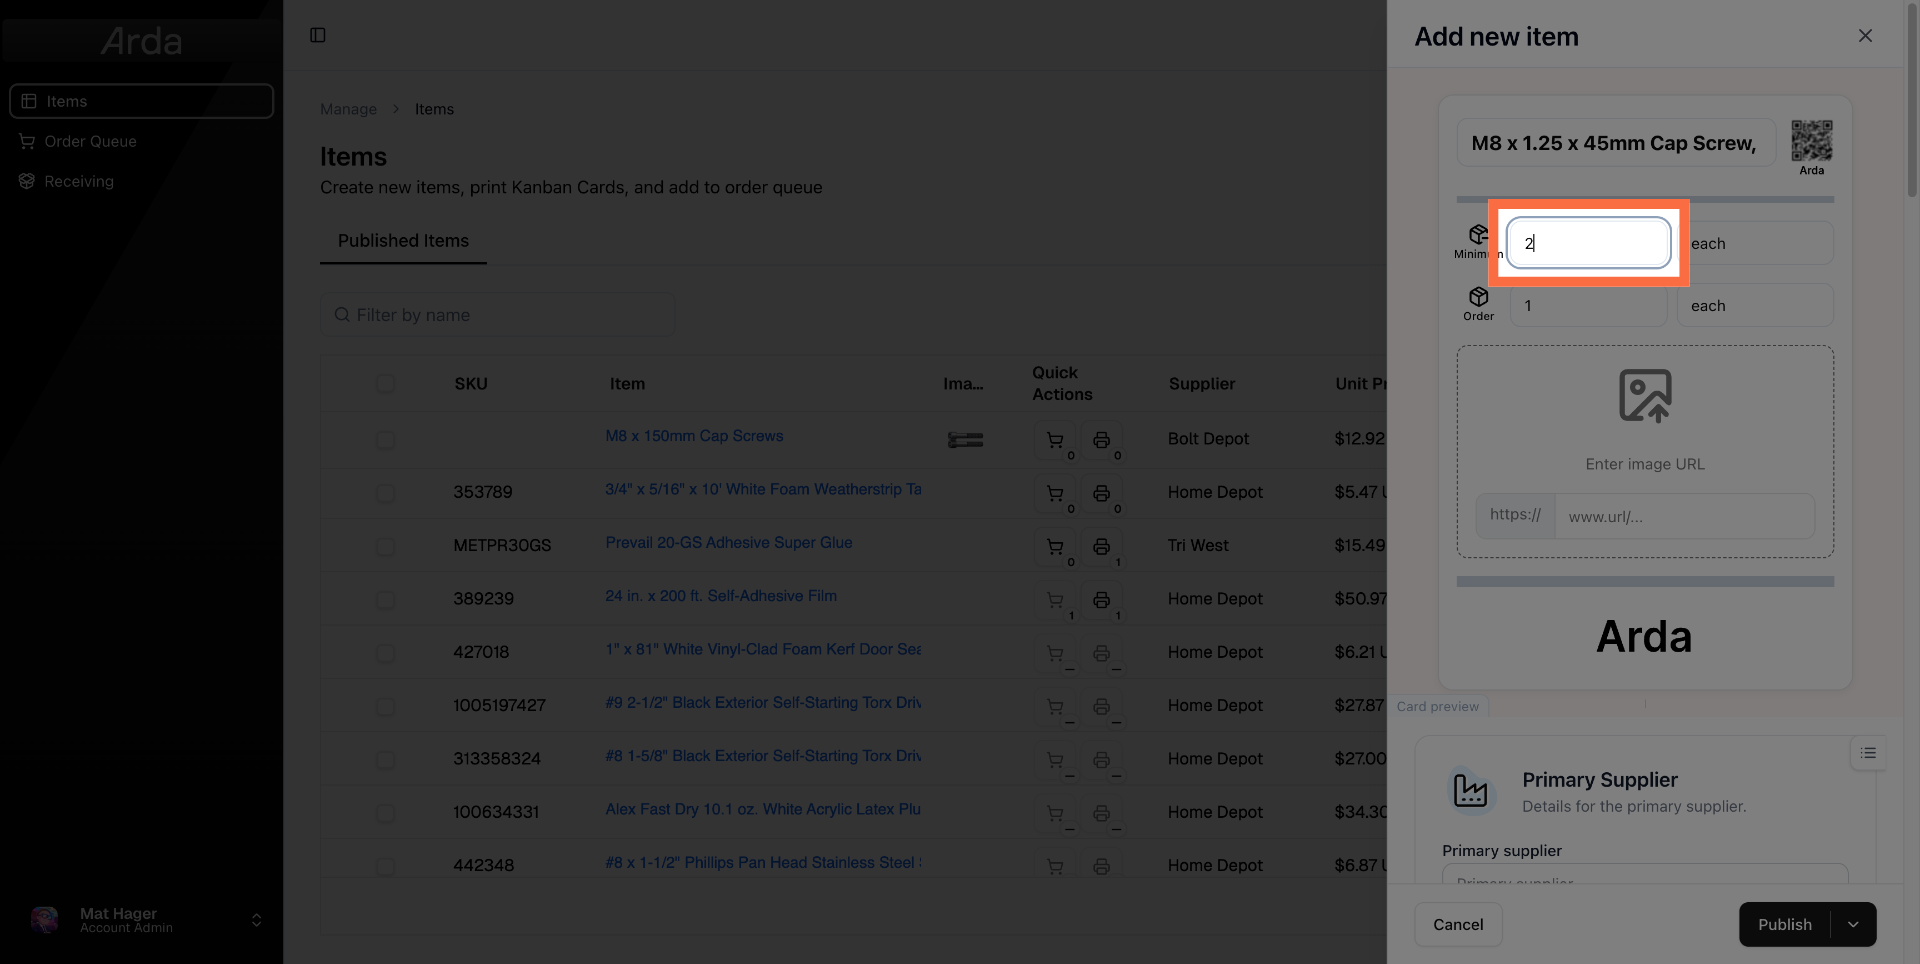
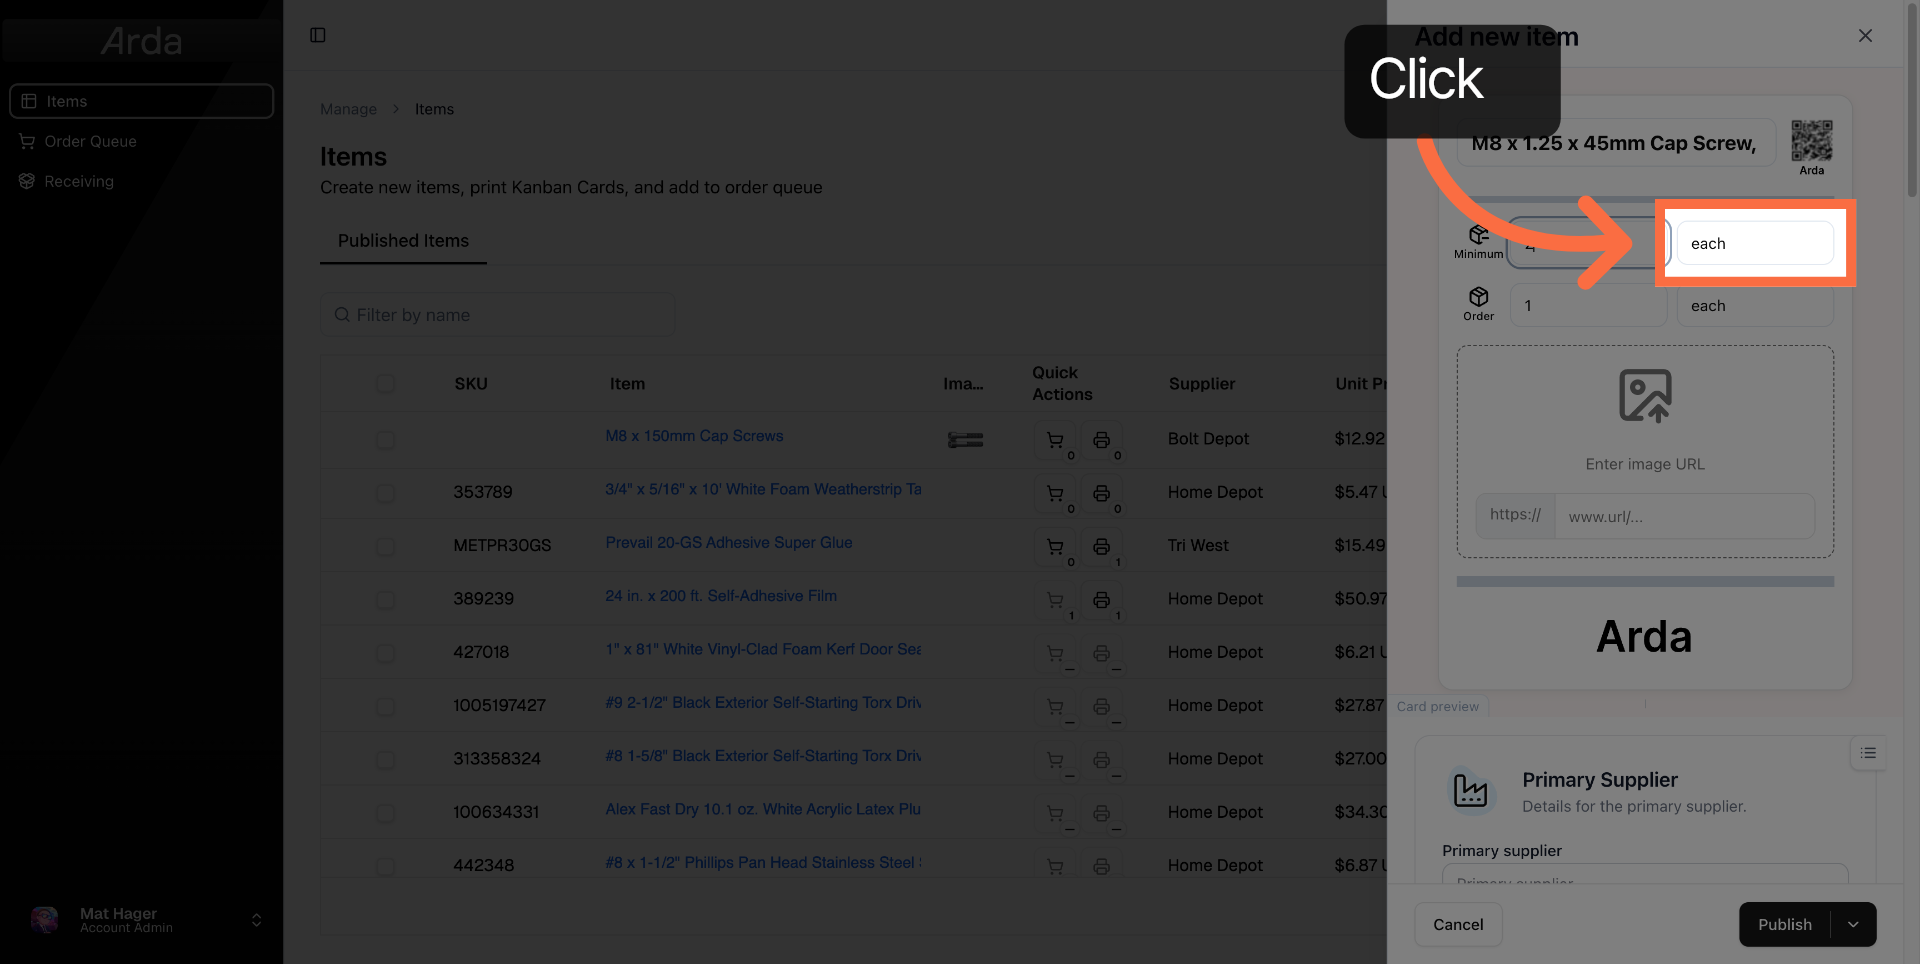
6. Enter Minimum Quantity Units
Select minimum quantity unit field and enter your desired units
7. Repeat these steps for Order Quantity
Click the order quantity field to enter your order quantity
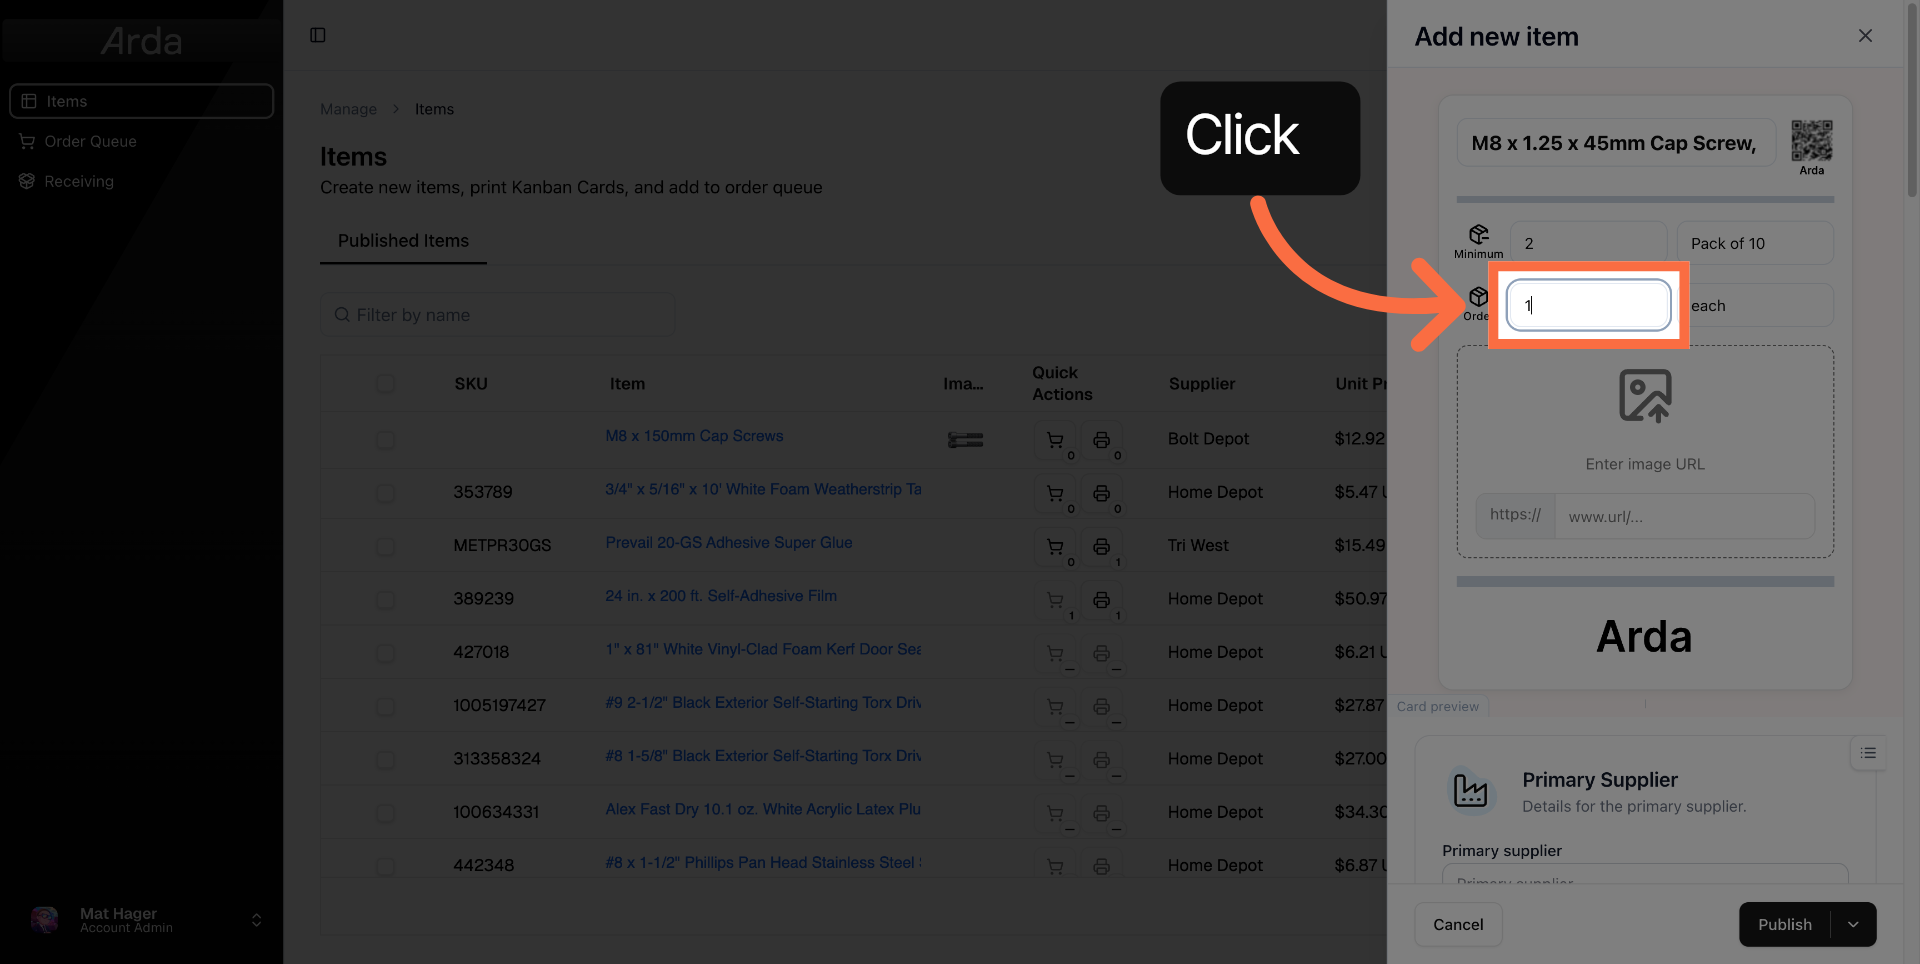
8. Enter Secondary Quantity
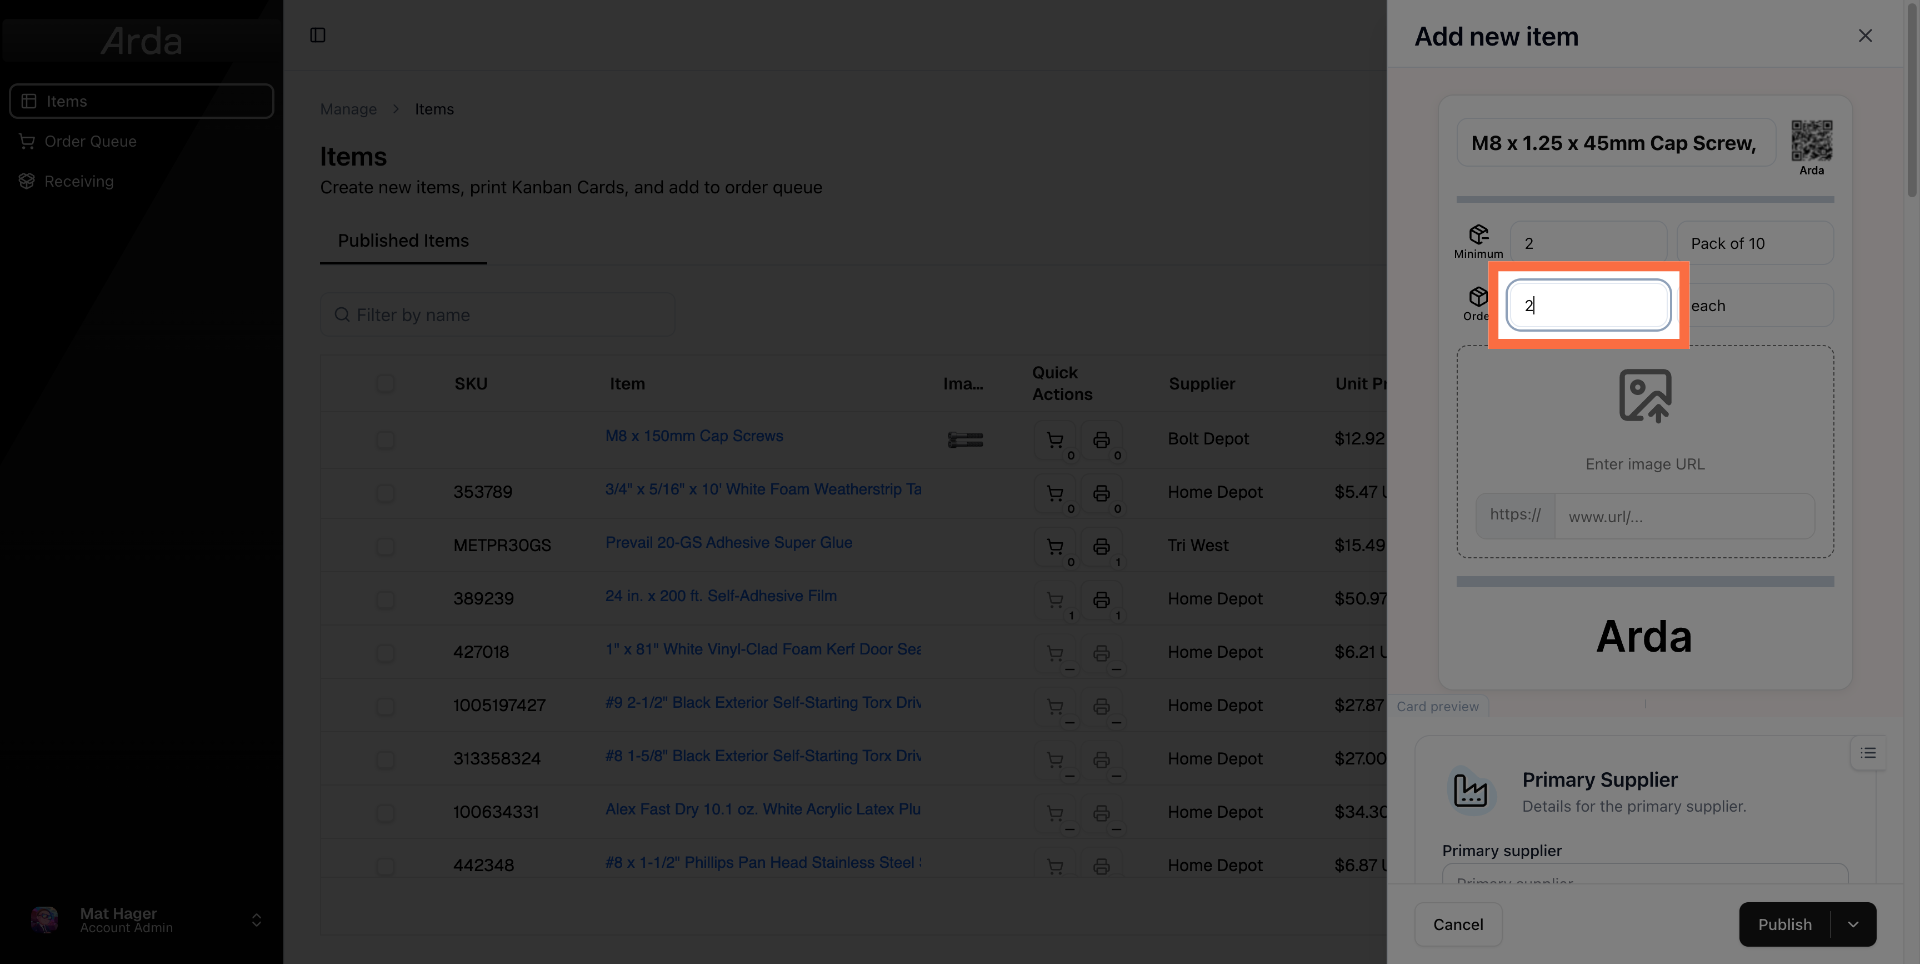
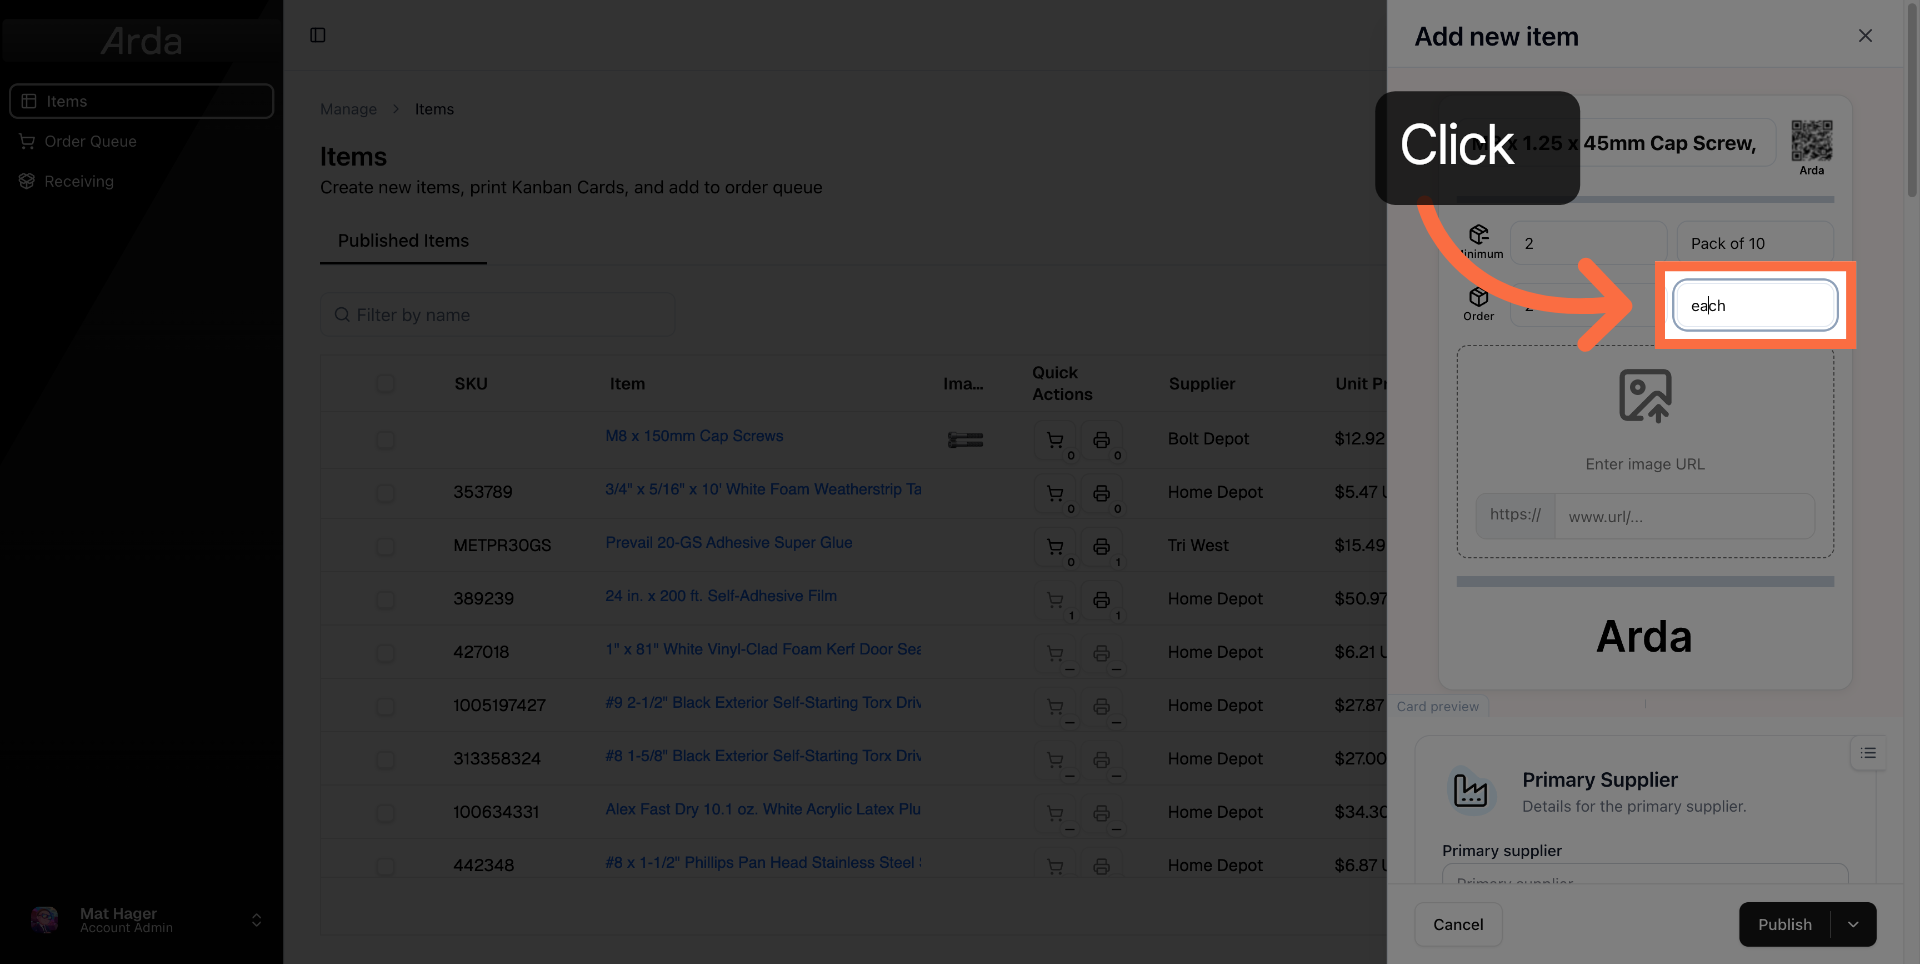
9. Select Order Unit
Click the order unit and enter your order units.
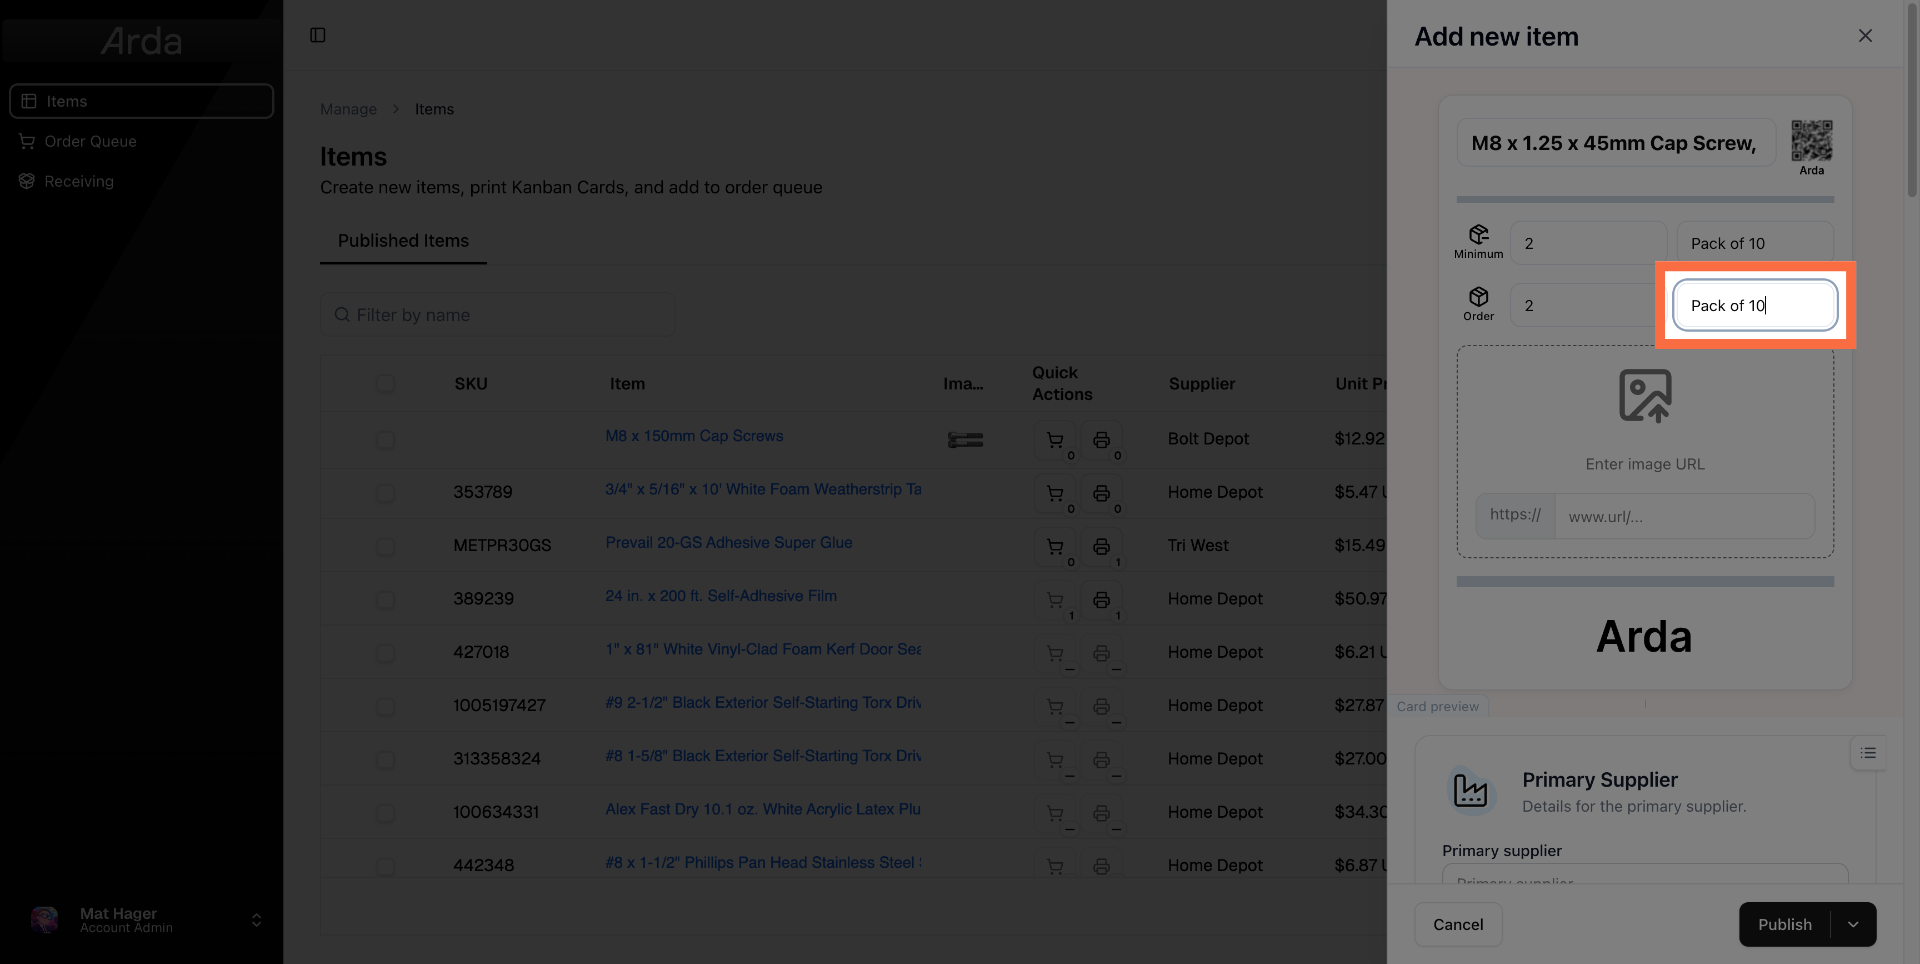
10. Enter Secondary Packaging Info
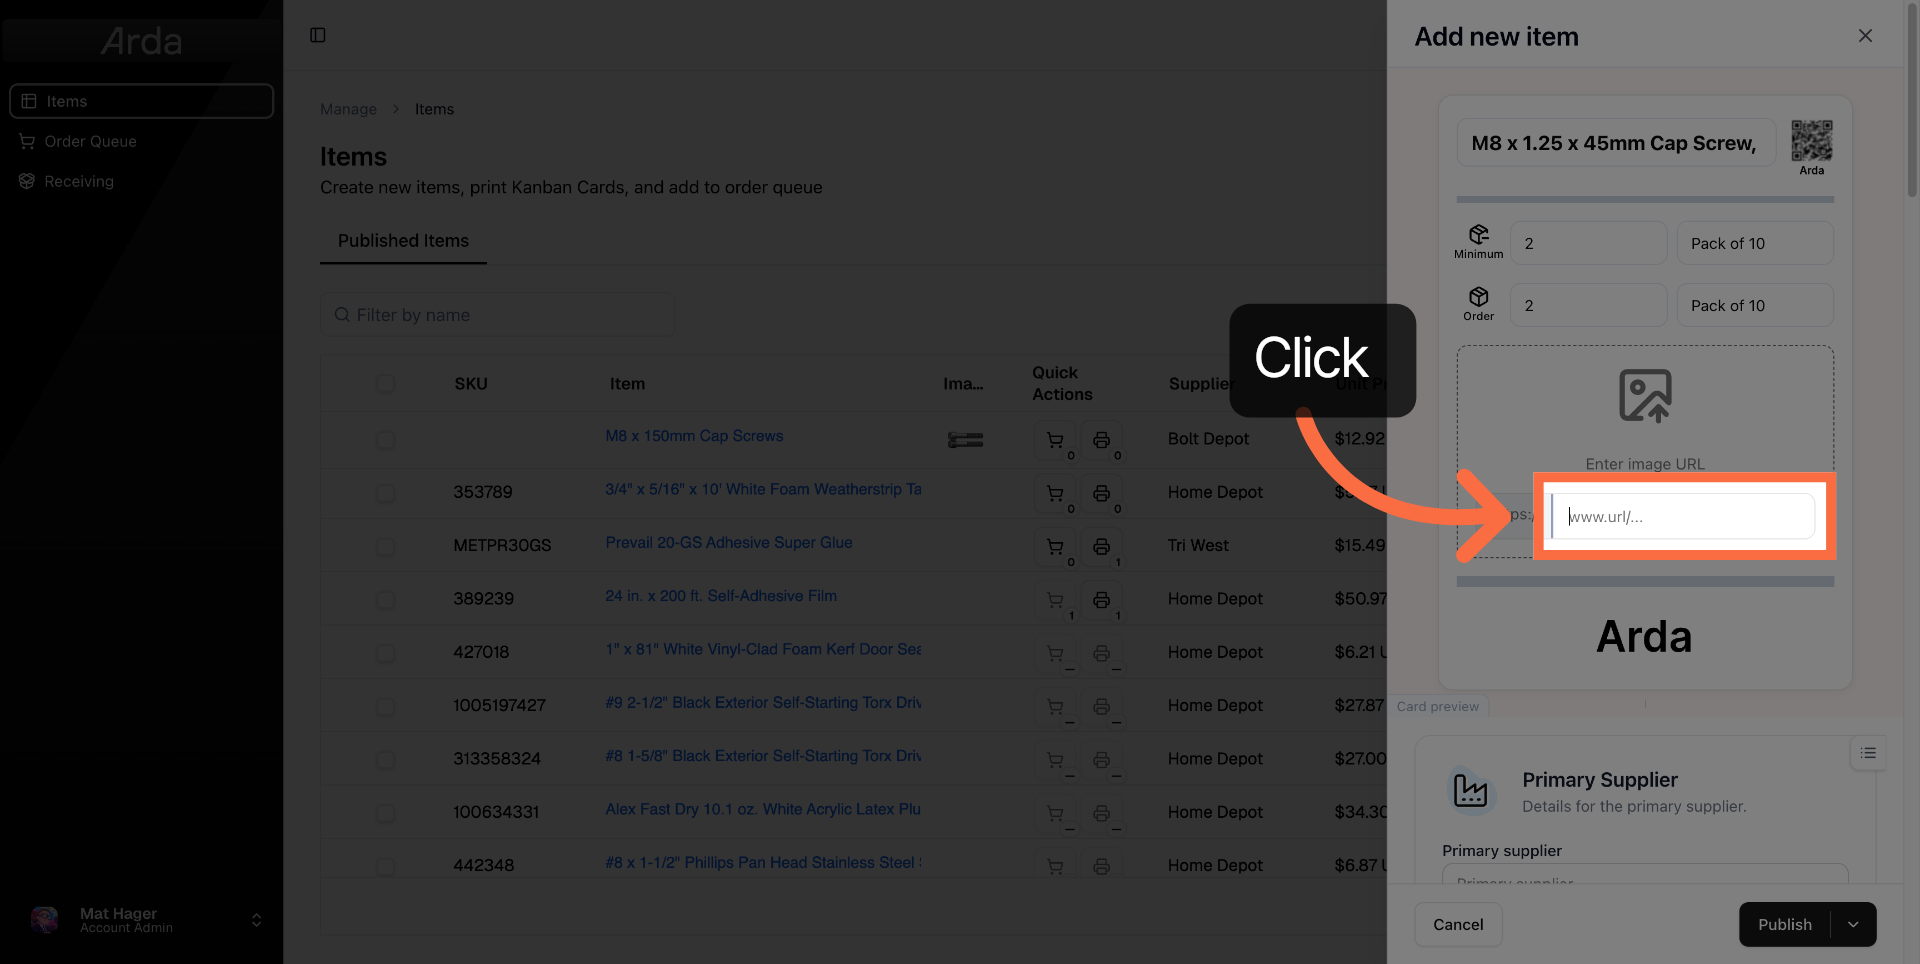
11. Select Image URL Field
Click the image URL field to paste the product image link from the supplier website or google image search. See FAQs if you are unsure how to pull an image URL. You can also add an image file directly — drag and drop it, paste from a URL, or upload from your computer.
12. Enter Image URL
Enter the URL of the product image to visually represent the item in Arda. The image will appear if successful.

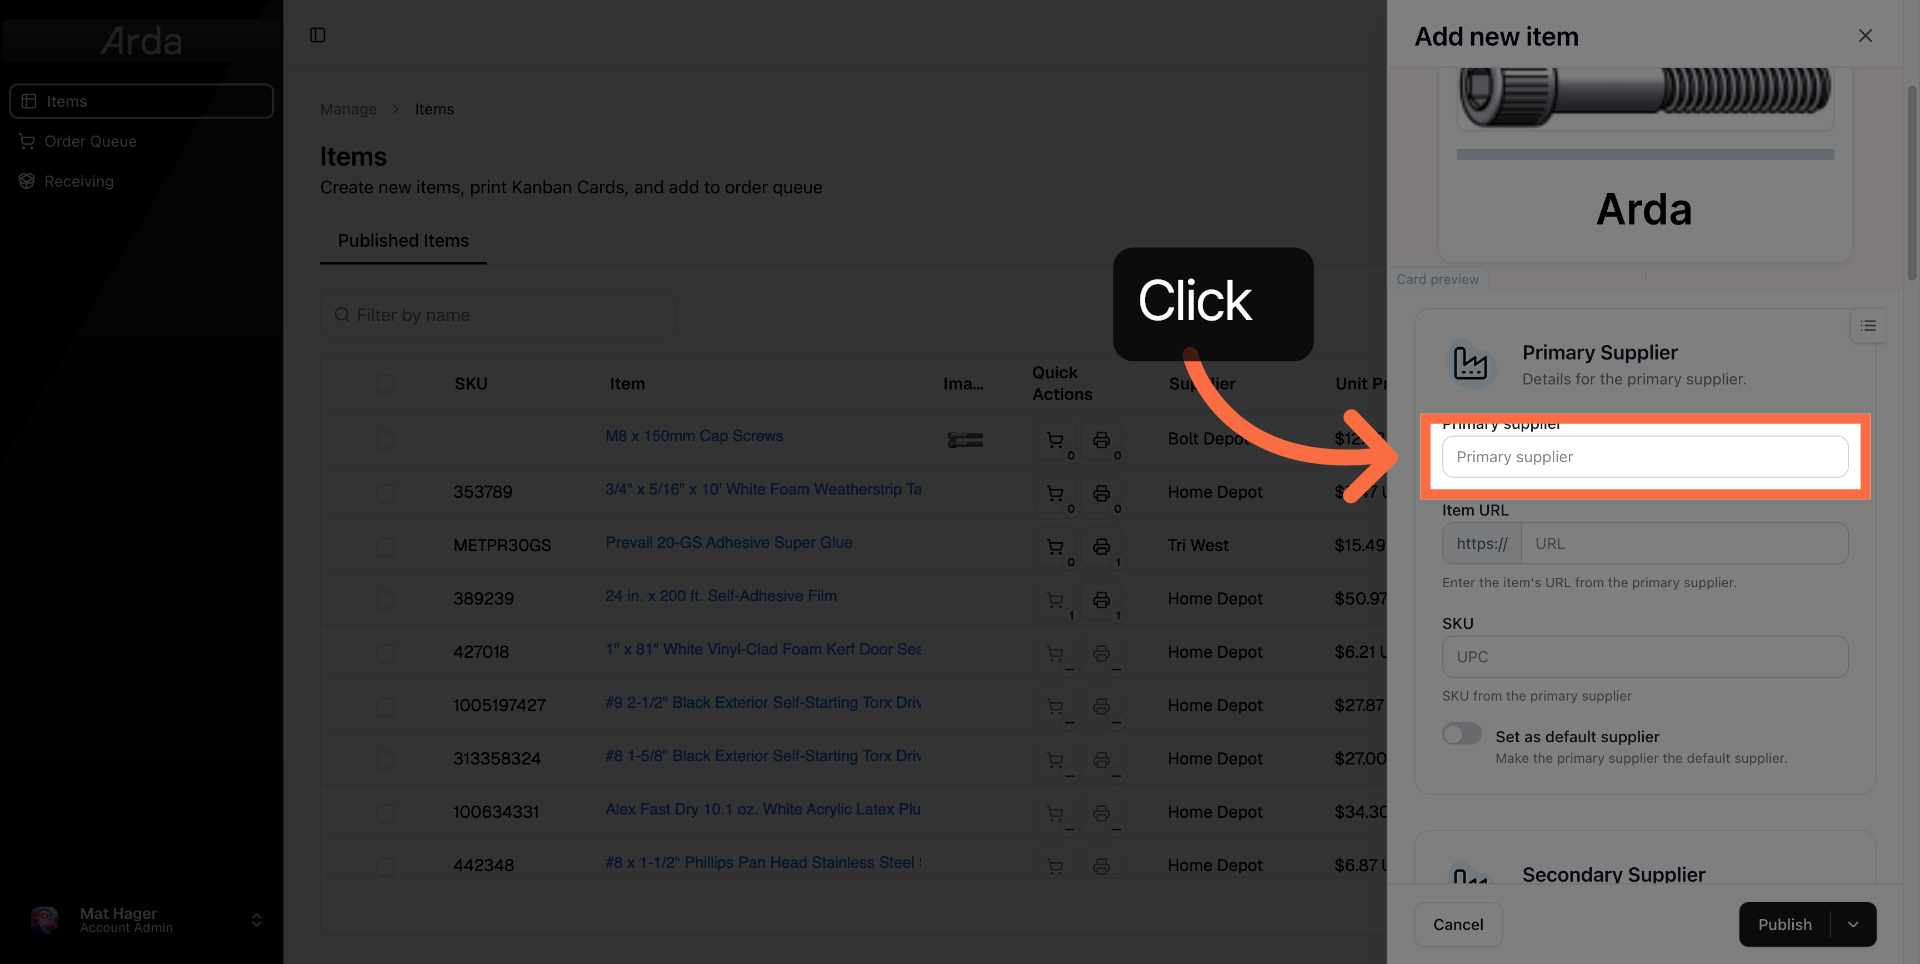
13. Select Primary Supplier Field
Click the primary supplier field to specify the main supplier for the item.
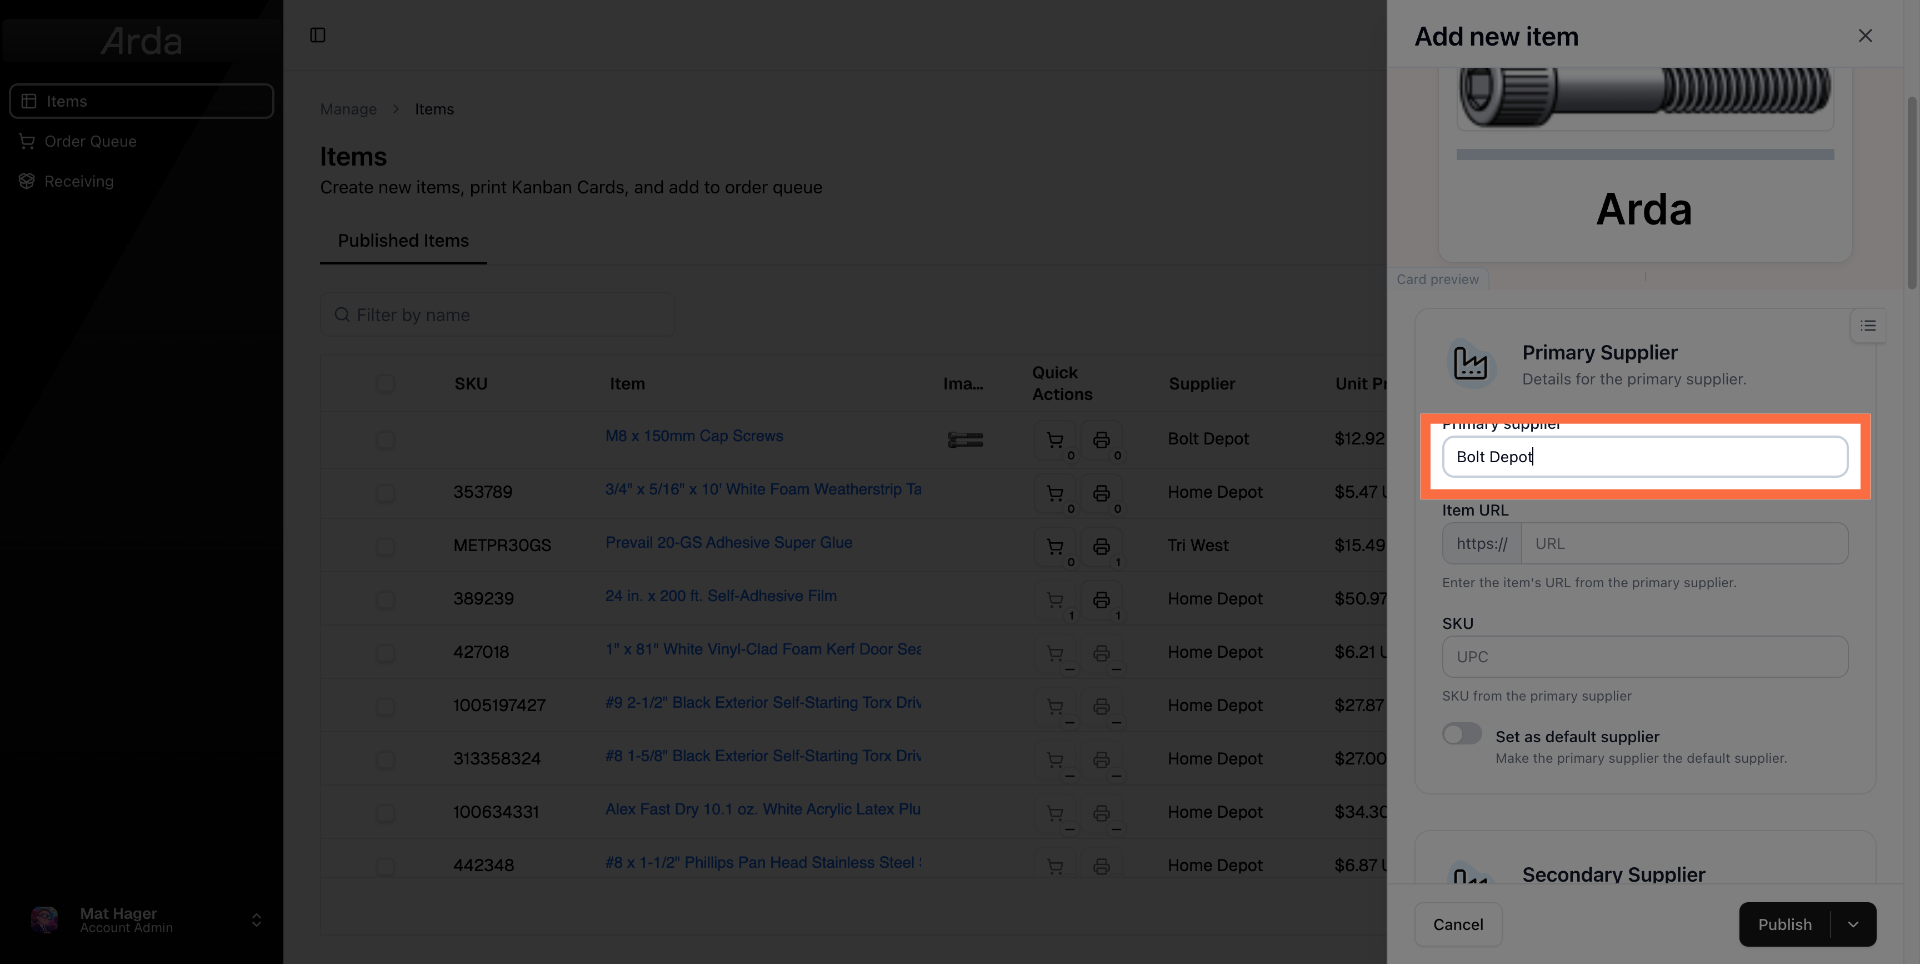
14. Enter Supplier Name
Enter the name of the primary supplier to associate with the item.
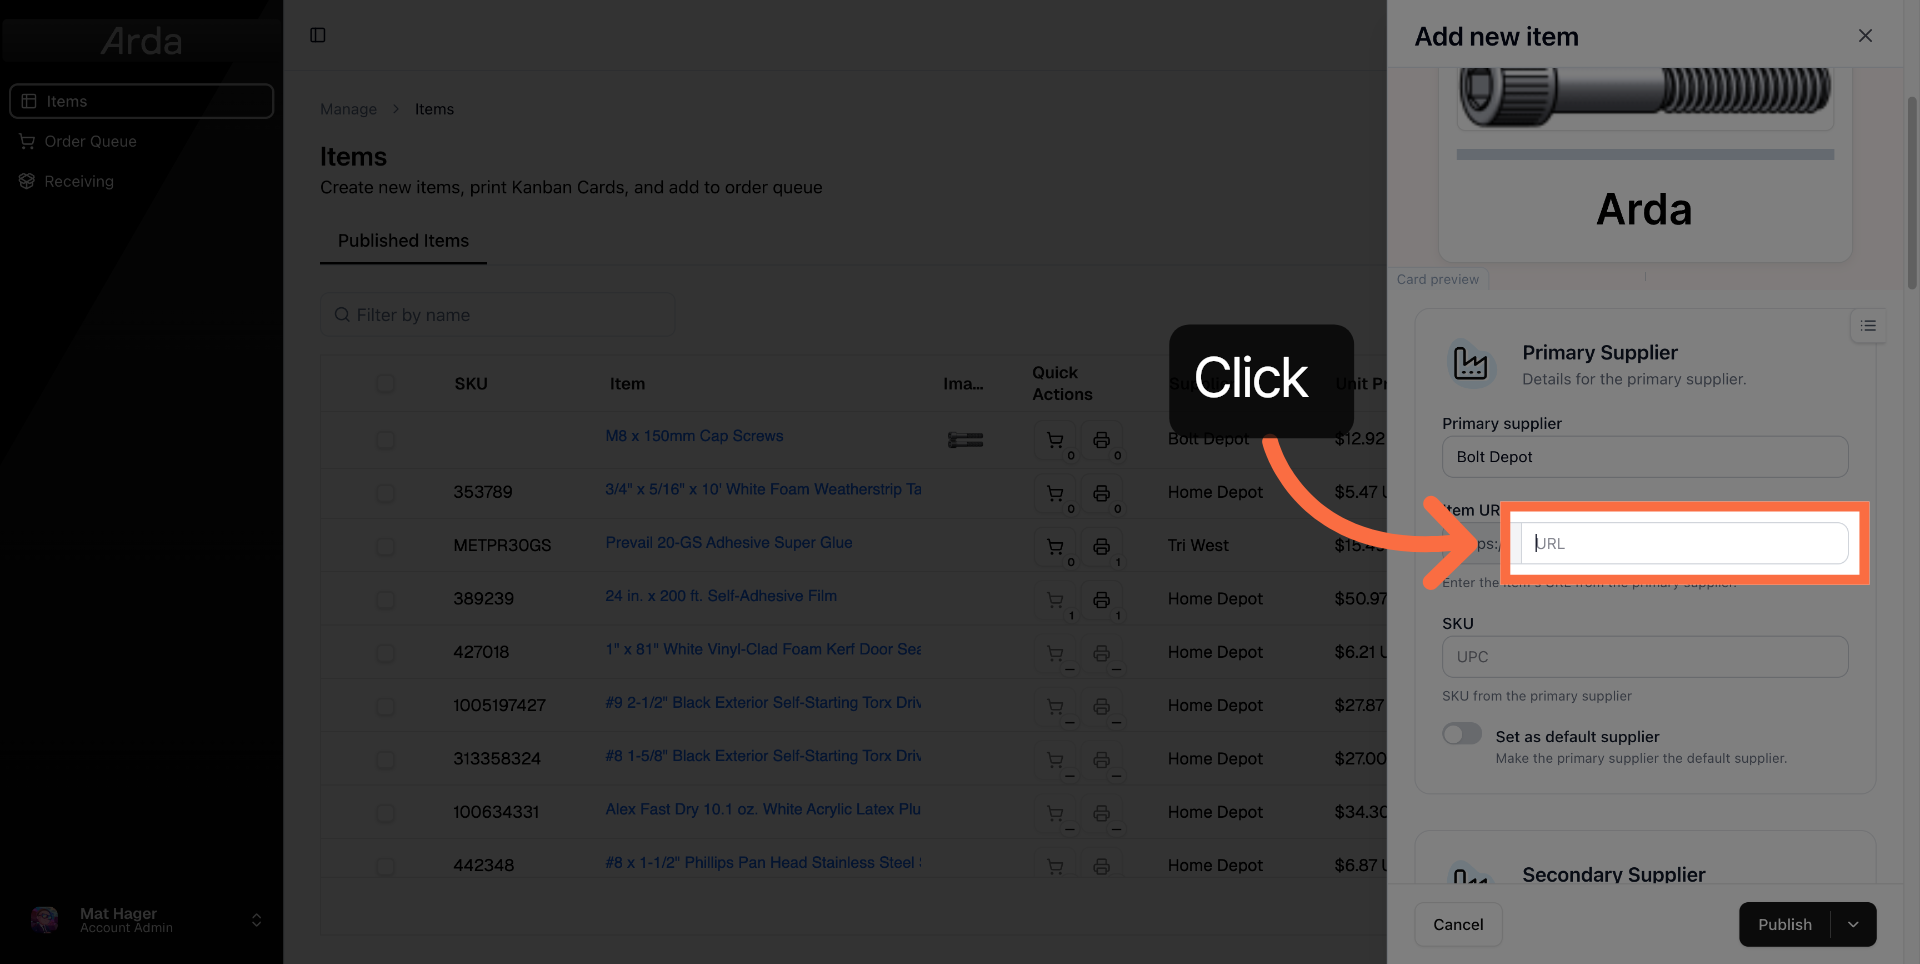
15. Select Supplier URL Field
Click the supplier URL field to add a link to the supplier's product page.
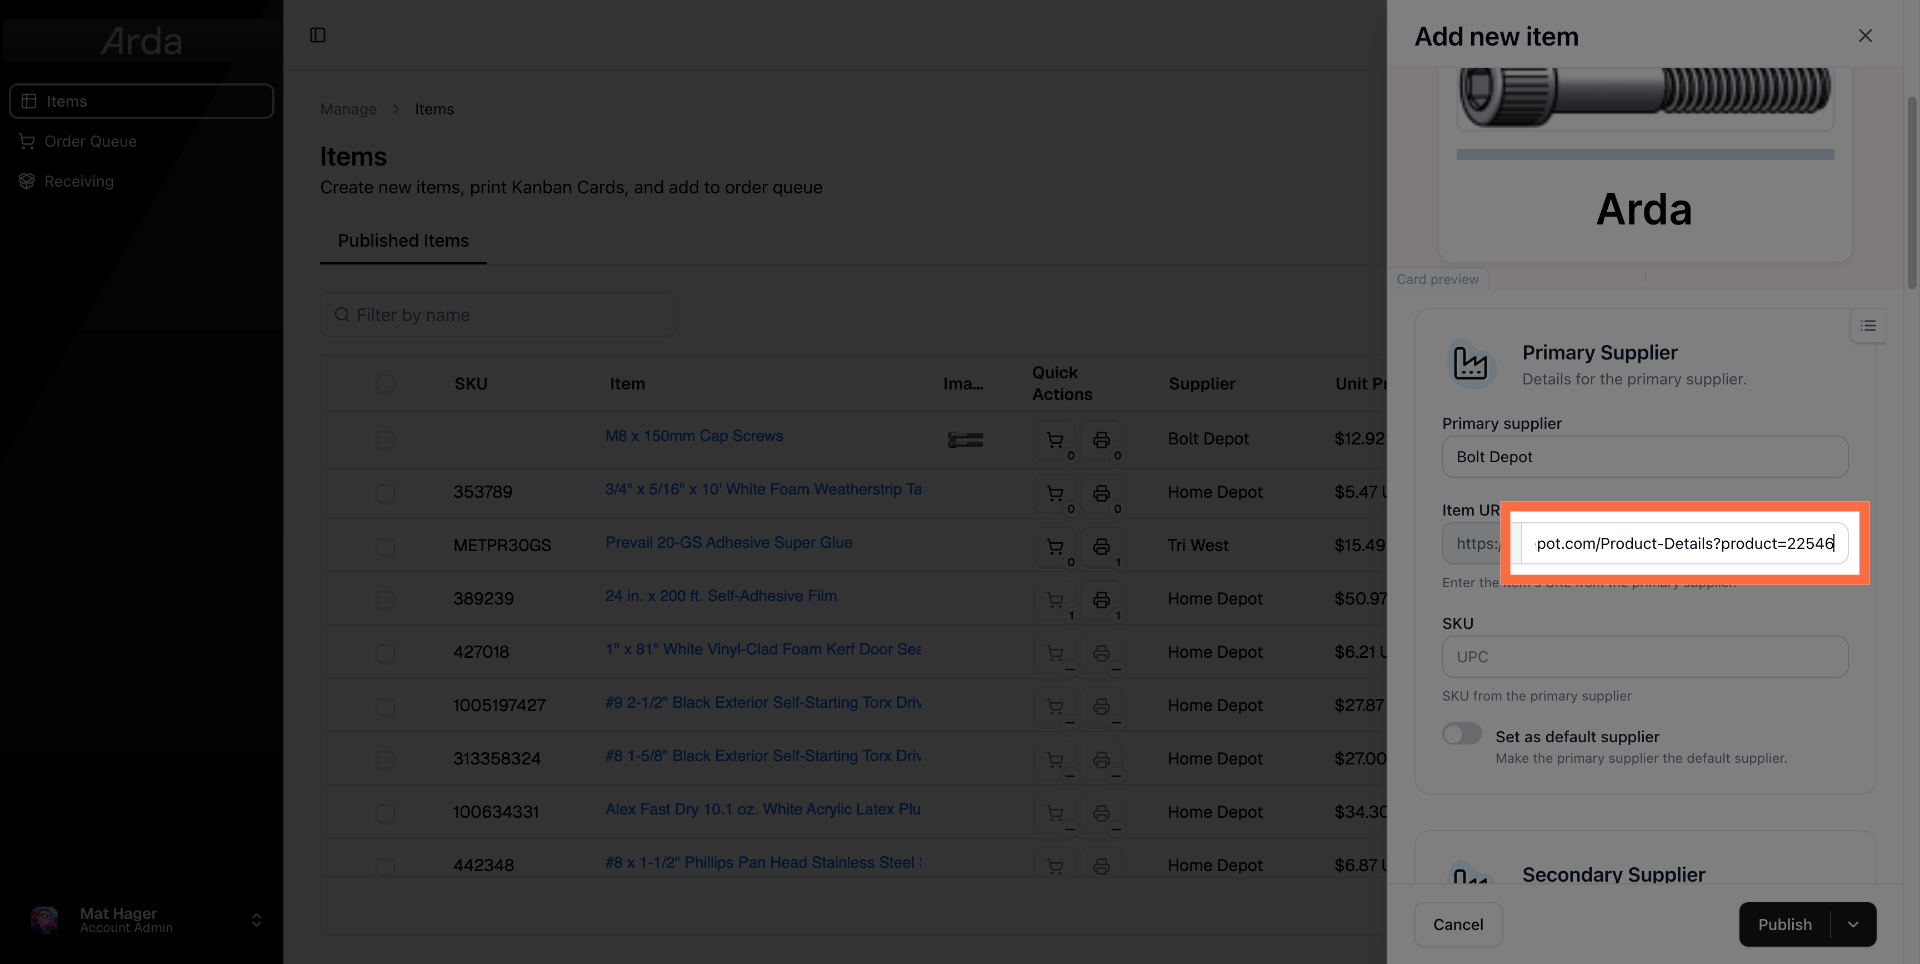
16. Enter Supplier Product URL
Enter the URL linking directly to the product page on the supplier's website.
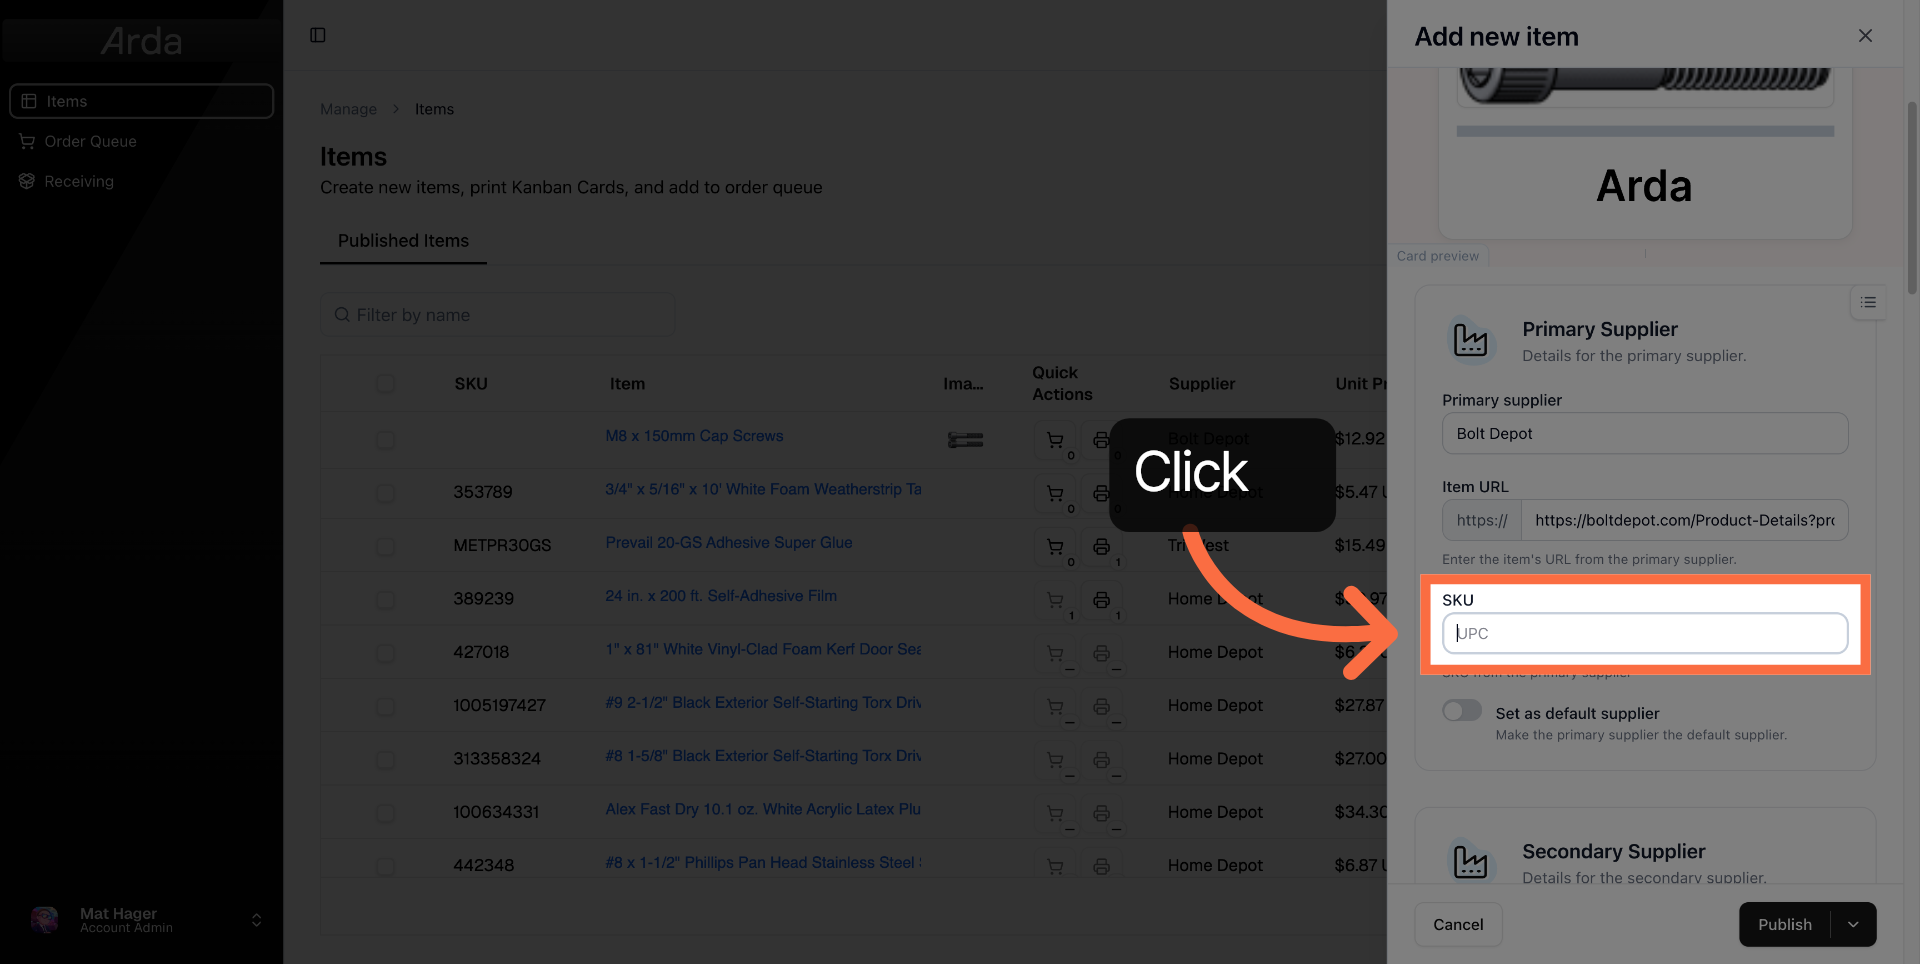
17. Select SKU
Click the SKU field to enter the product's SKU information if applicable.
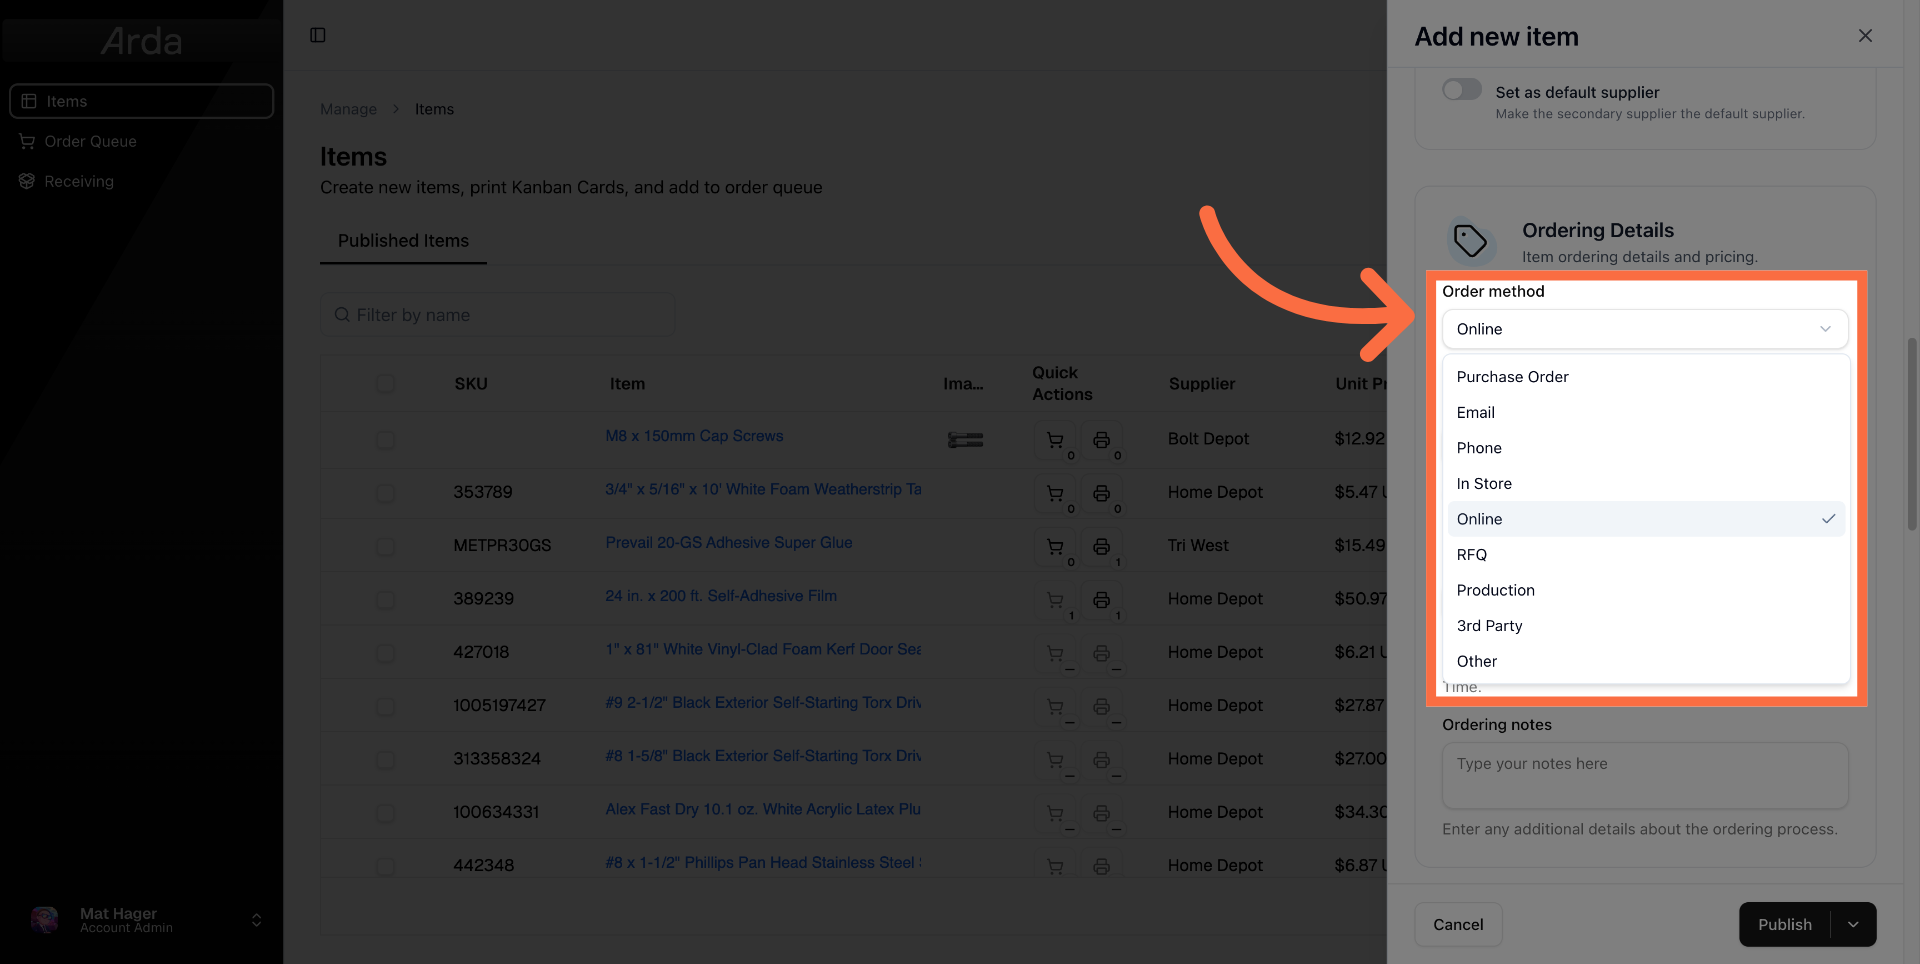
18. Choose Order Method
Select from the correct order method from the order method dropdown
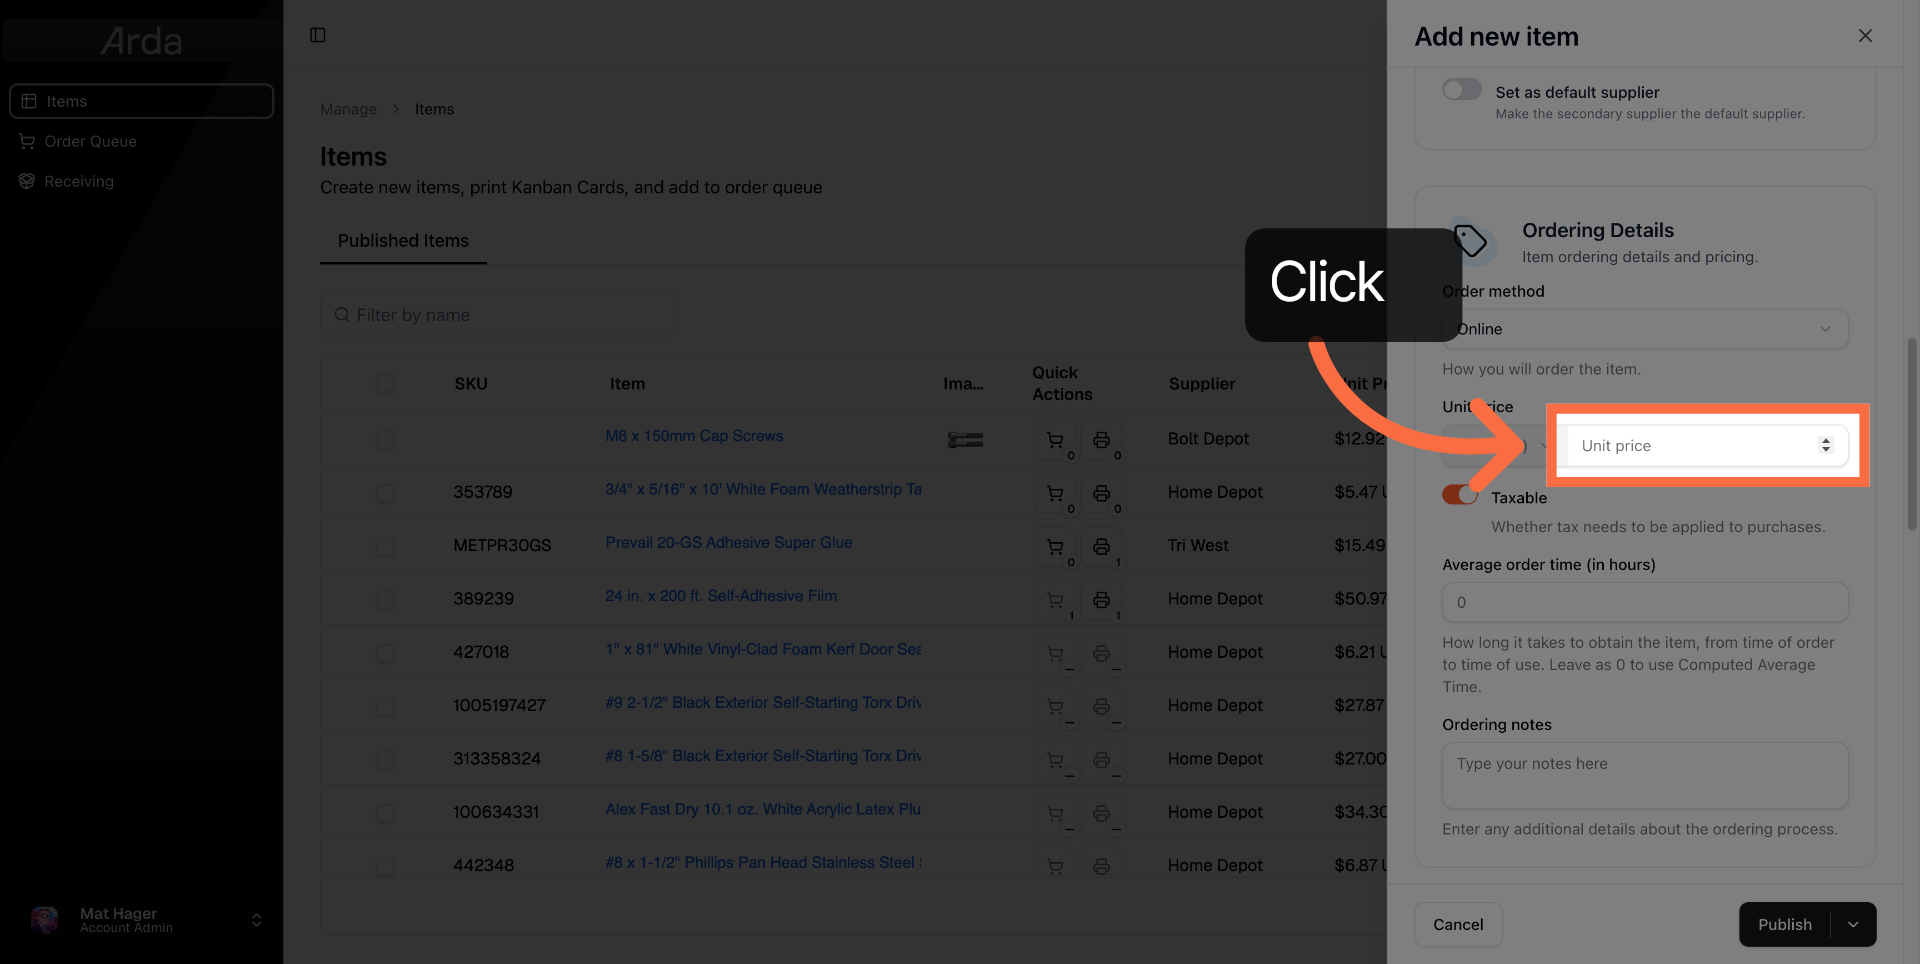
19. Select Unit Price Field
Click the unit price field to enter the cost per order unit of the item.
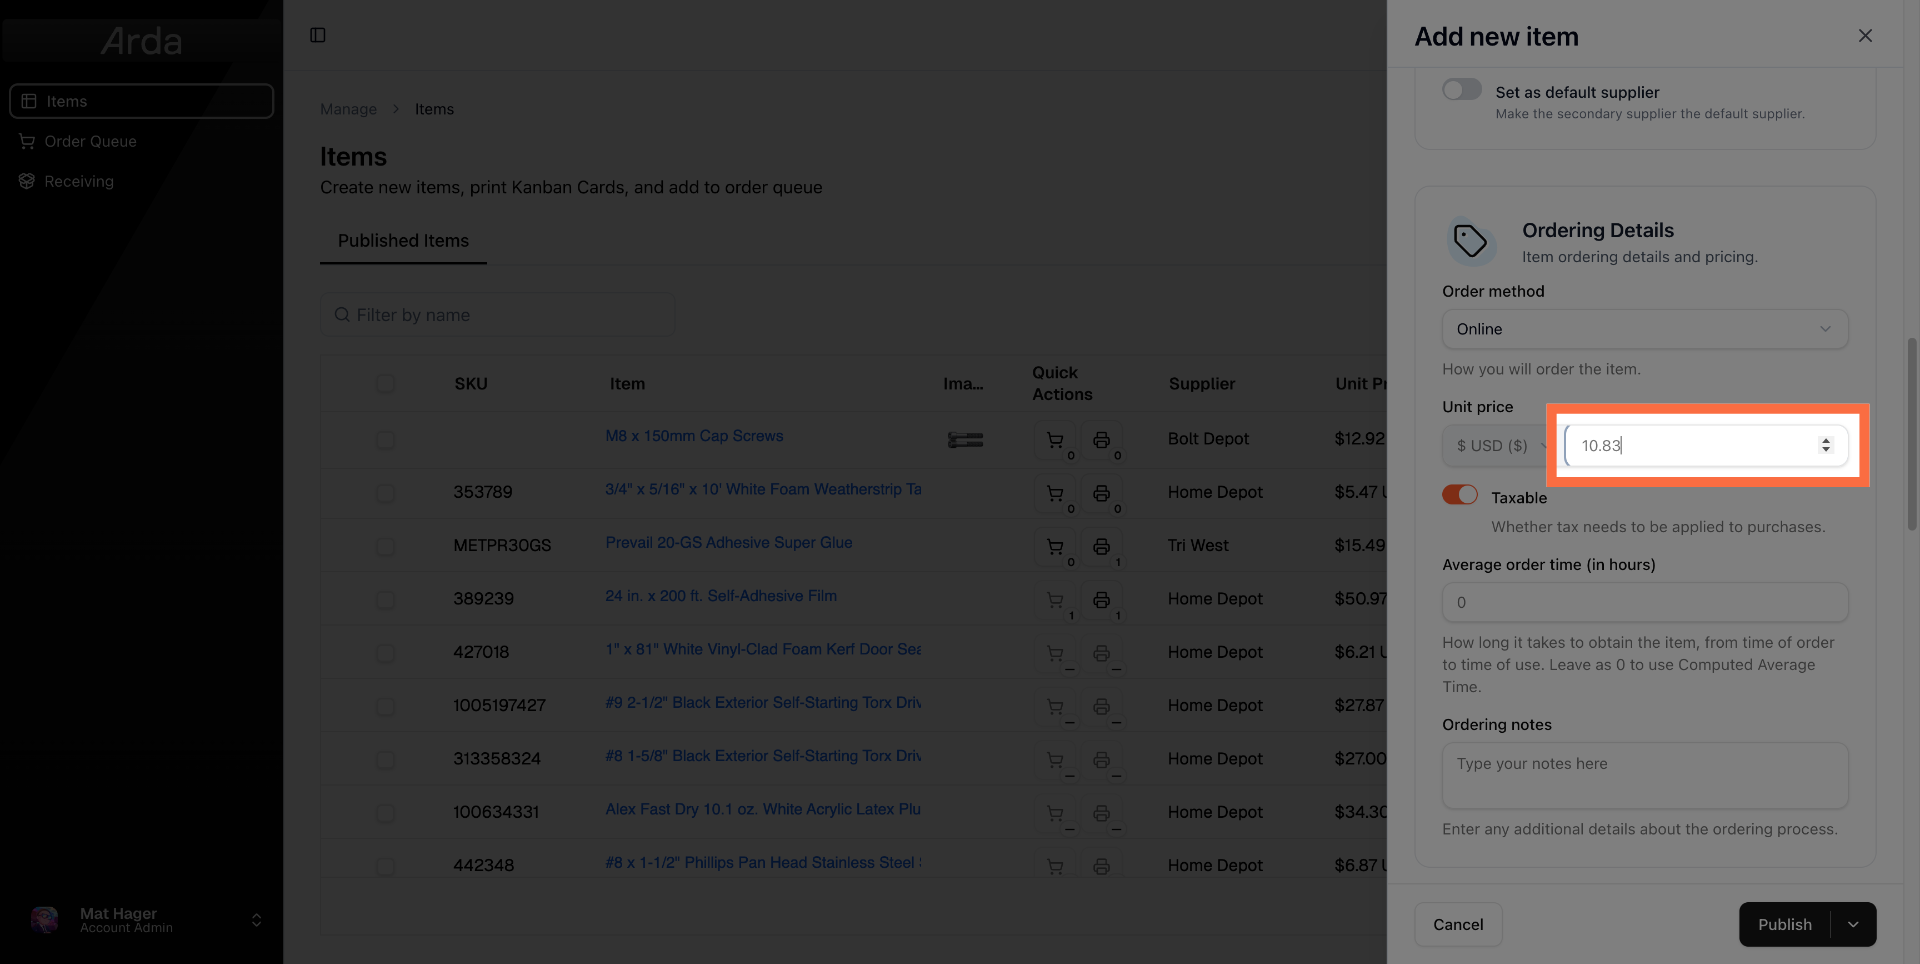
20. Enter Unit Price
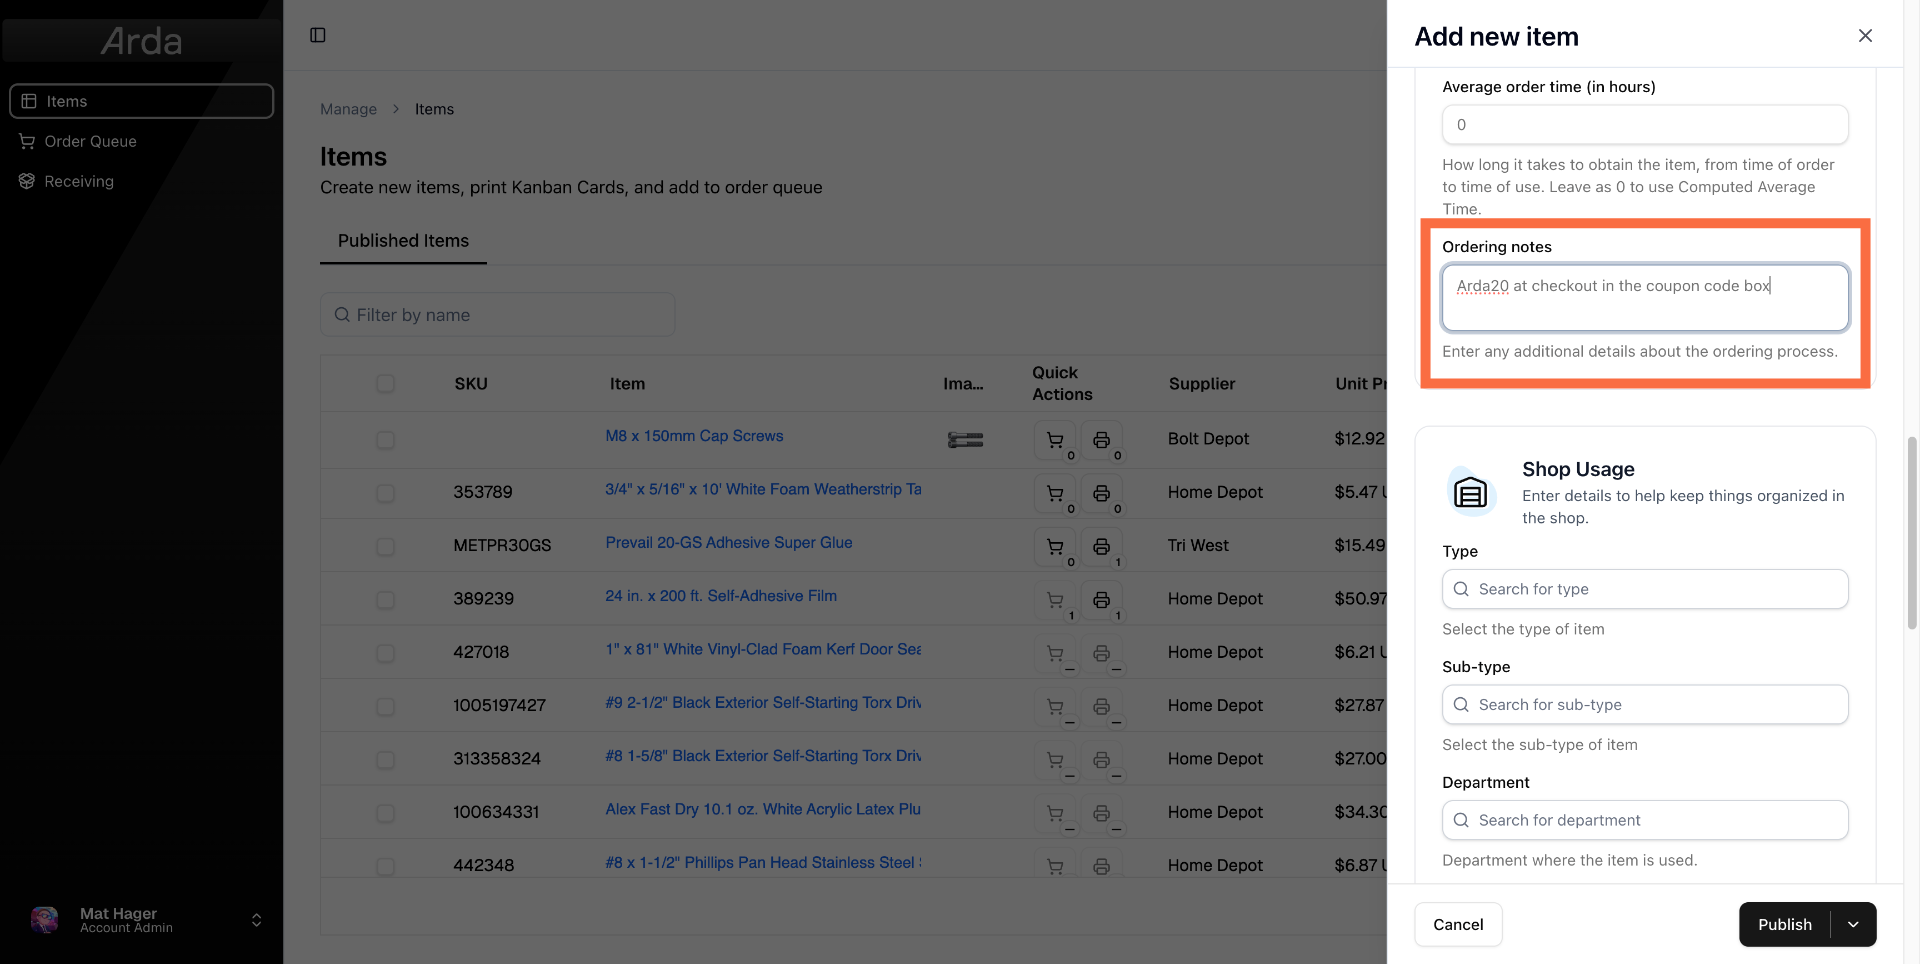
21. Select Notes Field
Click the notes field to add any additional information or instructions about the item.
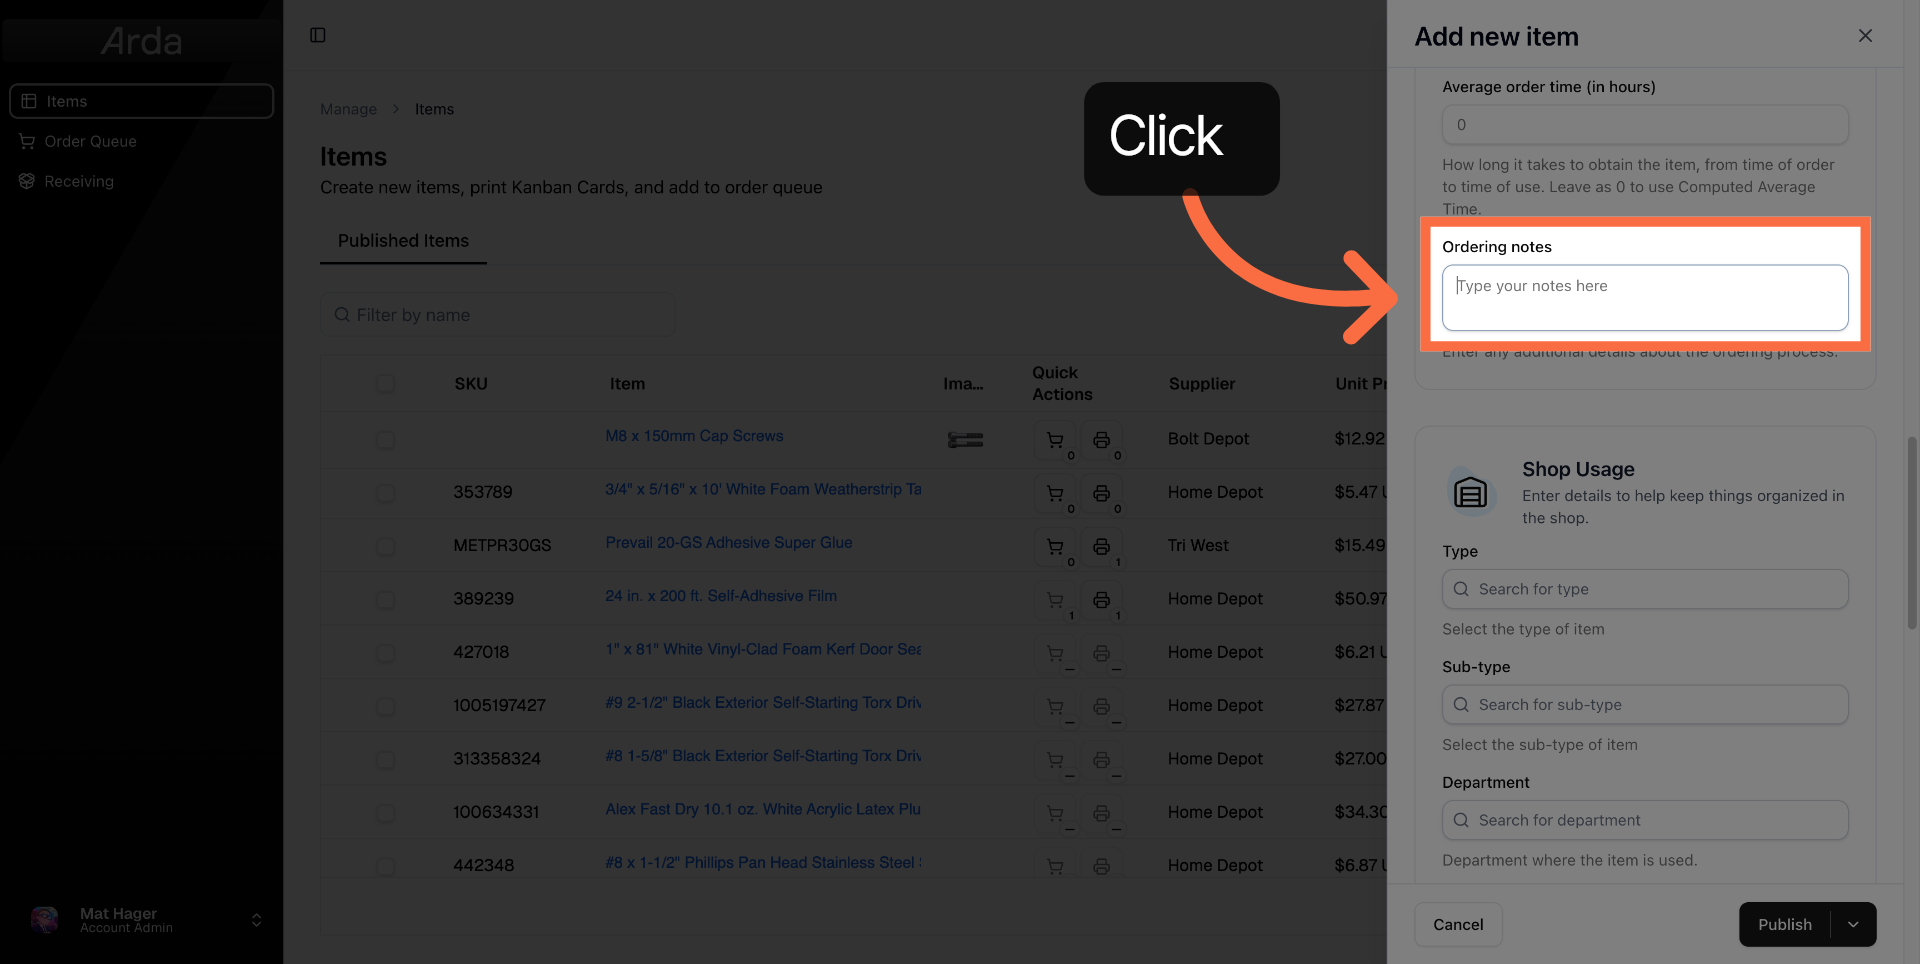
22. Enter Ordering notes
Enter notes such as discount codes or special instructions related to ordering the item.
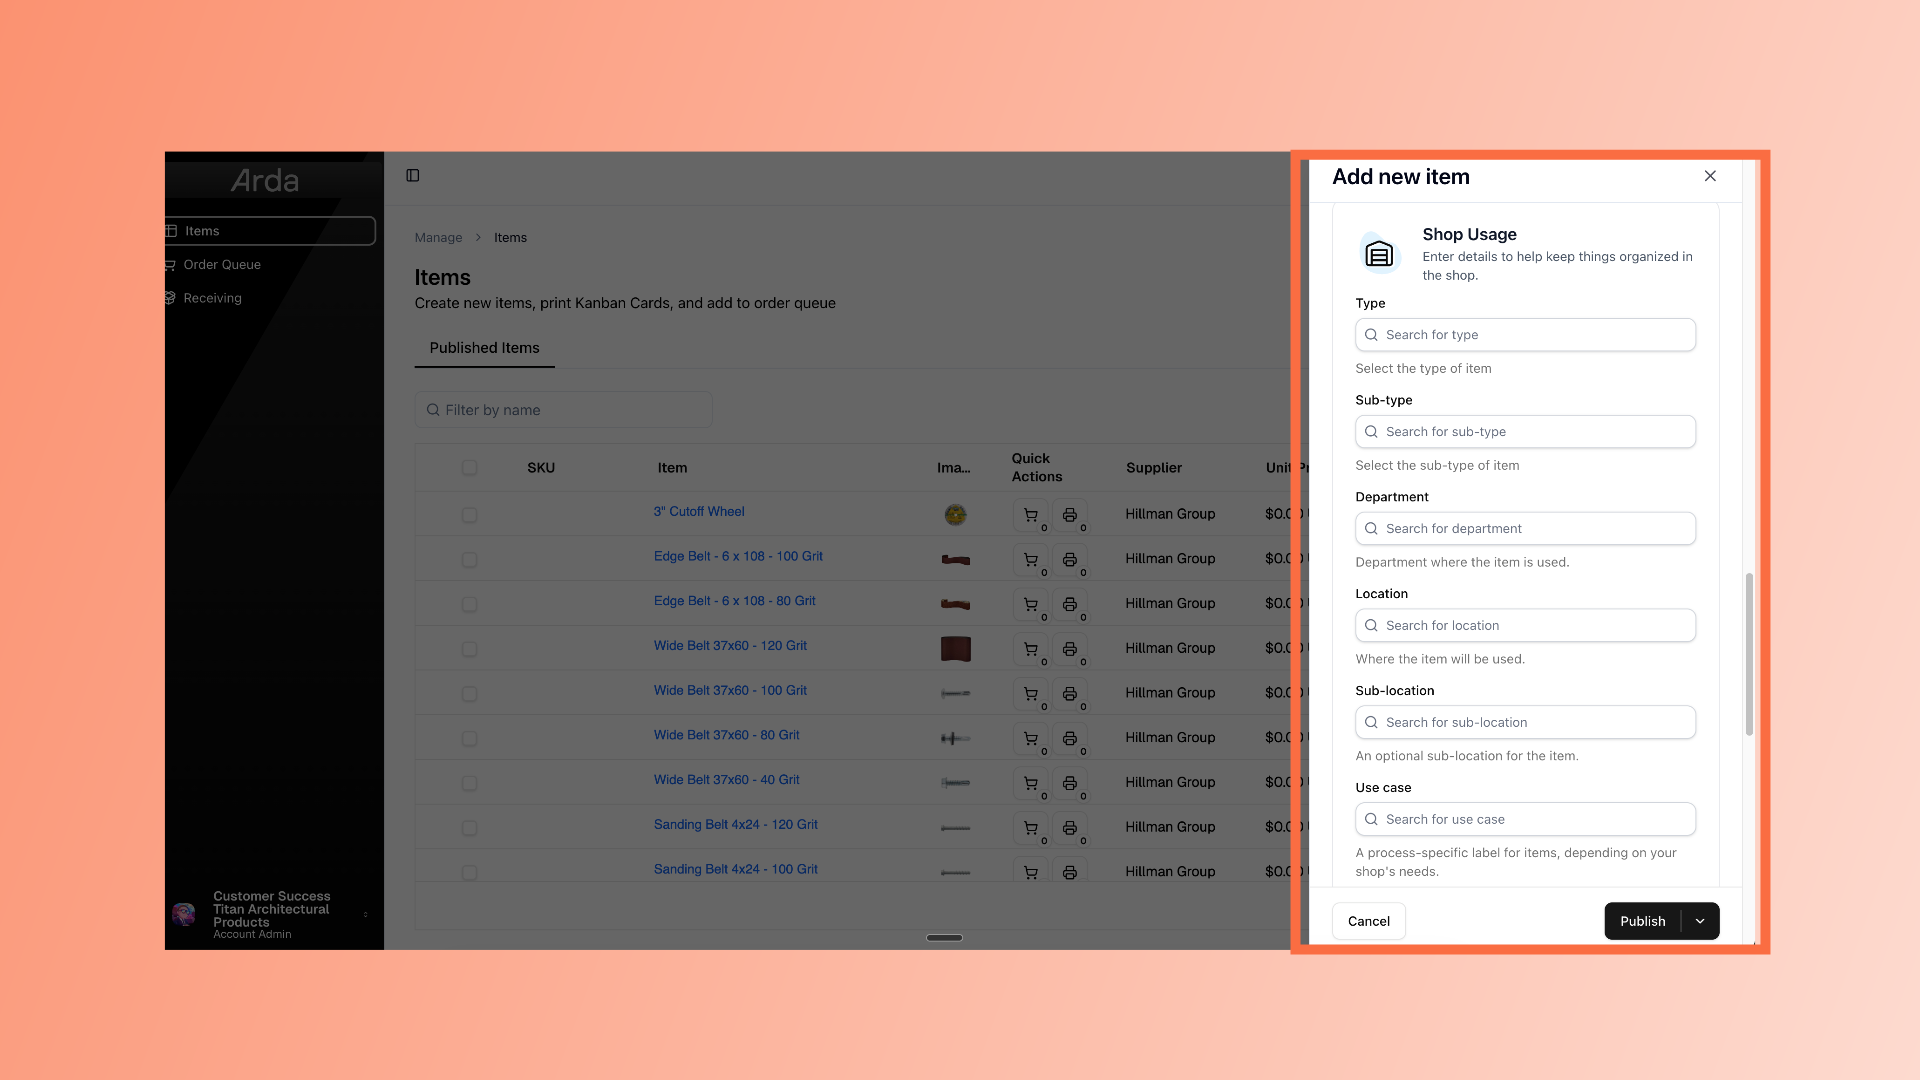
23. Fill in shop usage information
Use the Shop Usage fields to organize your item, both digitally and physically. Type subtype and use case are digital organizational tools that help organize your items within Arda. Location and sub location print on the physical card and are used to help locate the item. We typically see department used when integrating with accounting software or Enterprise Resource Planning Software.
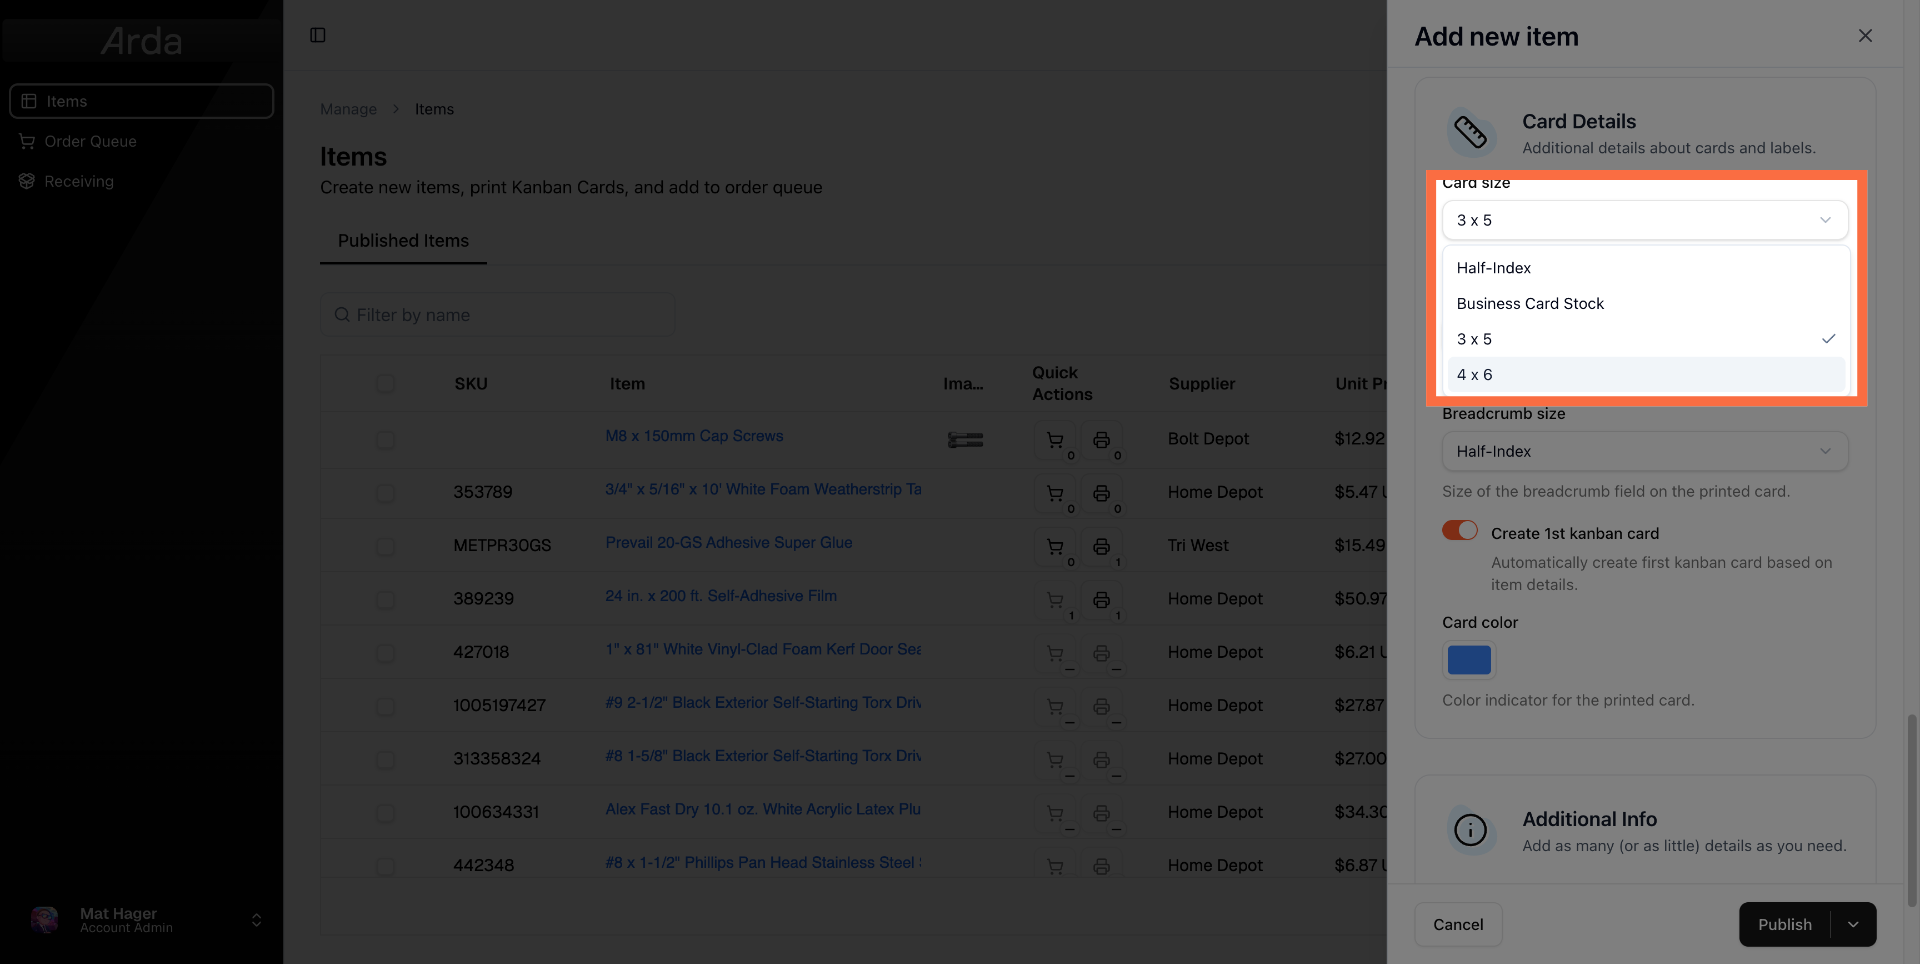
24. Specify Card, Label, and Breadcrumb Sizing
In the Card Details Section you'll be able to select card, label, and breadcrumb sizes from the drop downs as well as set card color.
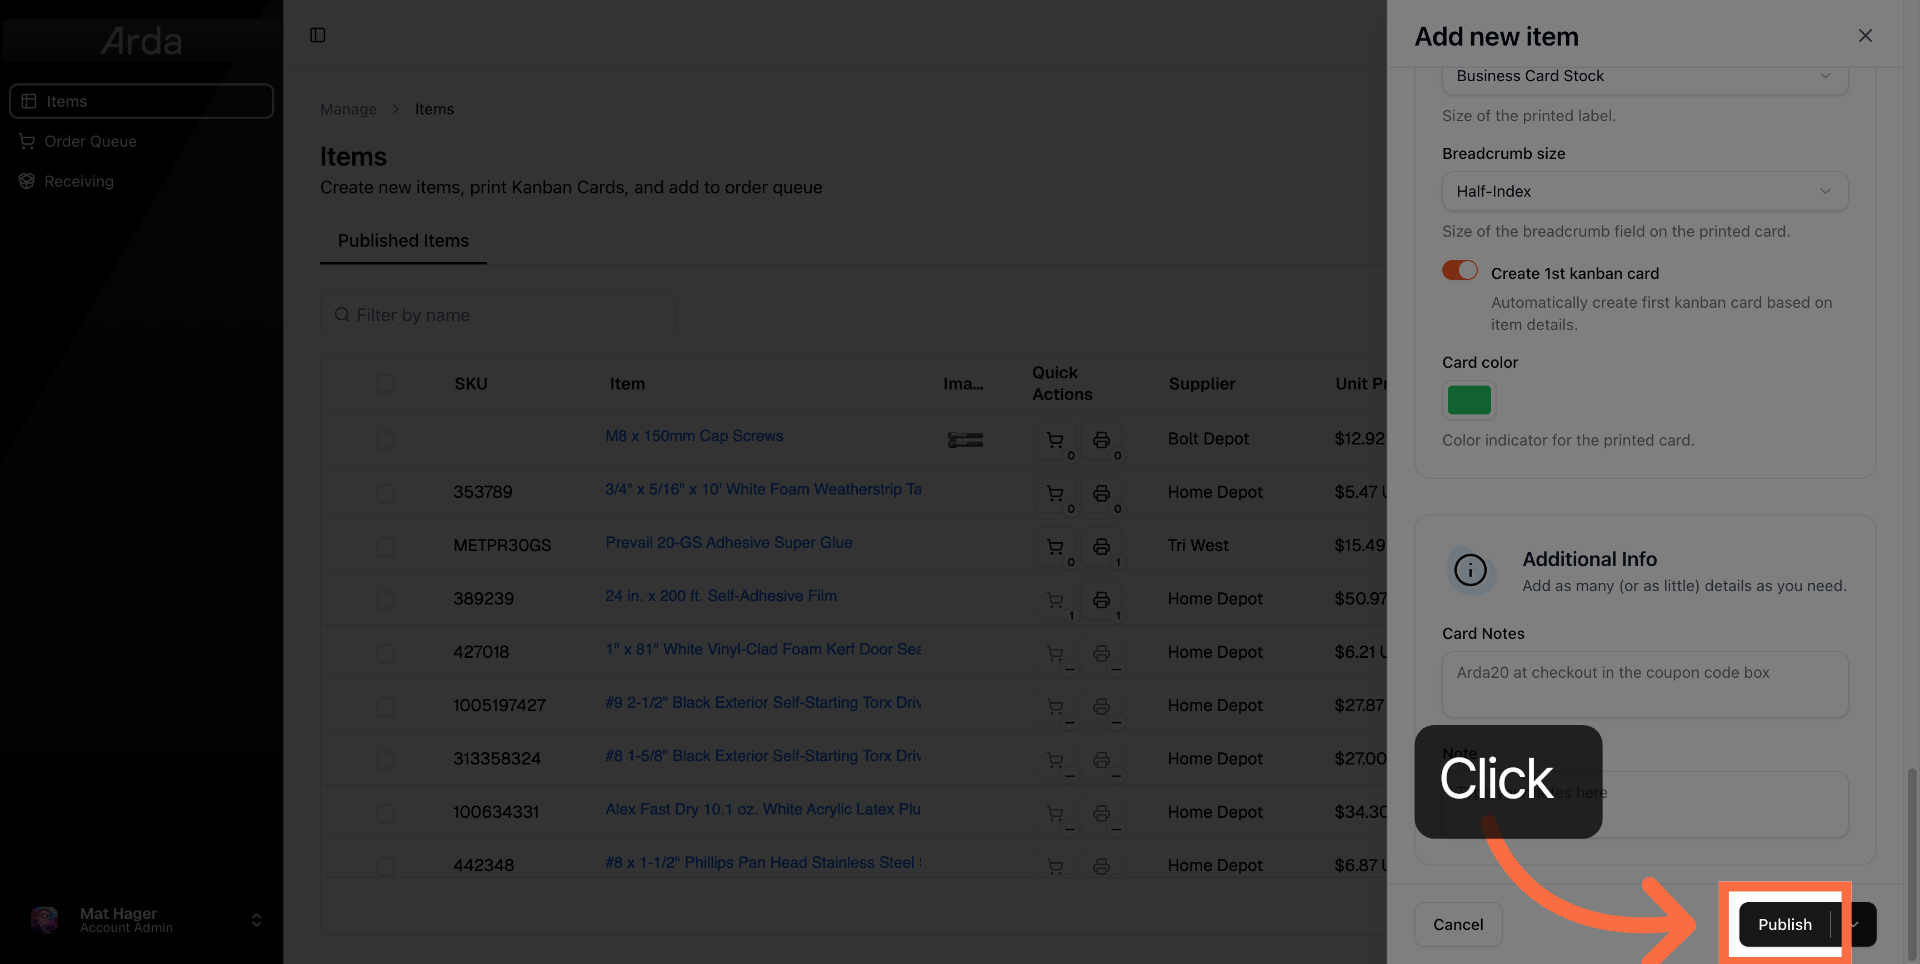
25. Click Publish Button
Click the Publish button to save and make the new item available in the Arda workspace.
This article detailed the complete process to add a single item in the Arda workspace, covering item details, supplier information, pricing, and publishing. For more information, see related articles on managing inventory and supplier integration.