Overview: The Arda Product Layout - Navigating the Platform and Key Features
Last updated: January 26, 2026
Discover the general layout of the Arda platform, including navigation tips, sidebar features, order management, receiving, projects, and business configuration. Learn how to efficiently use Arda for your business workflows.
Page Navigation
The Page Sidebar is the main navigation for moving between different parts of the platform. You can use it to add or edit items, manage your order queue, place orders, handle receiving, or configure Arda.
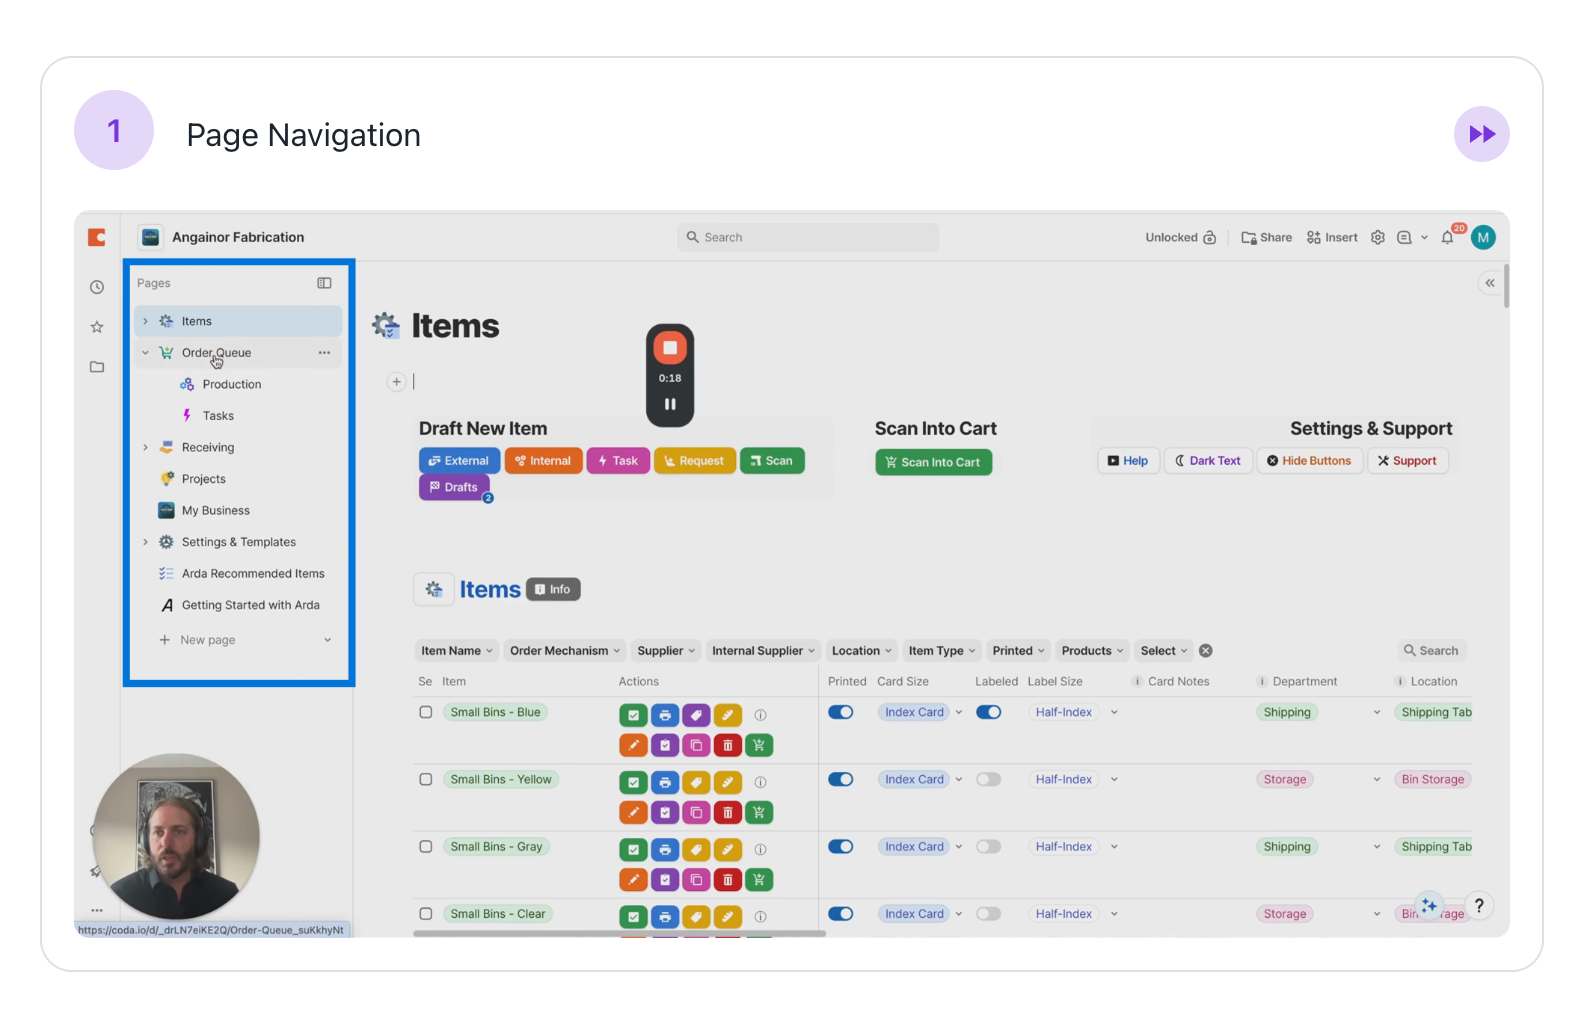
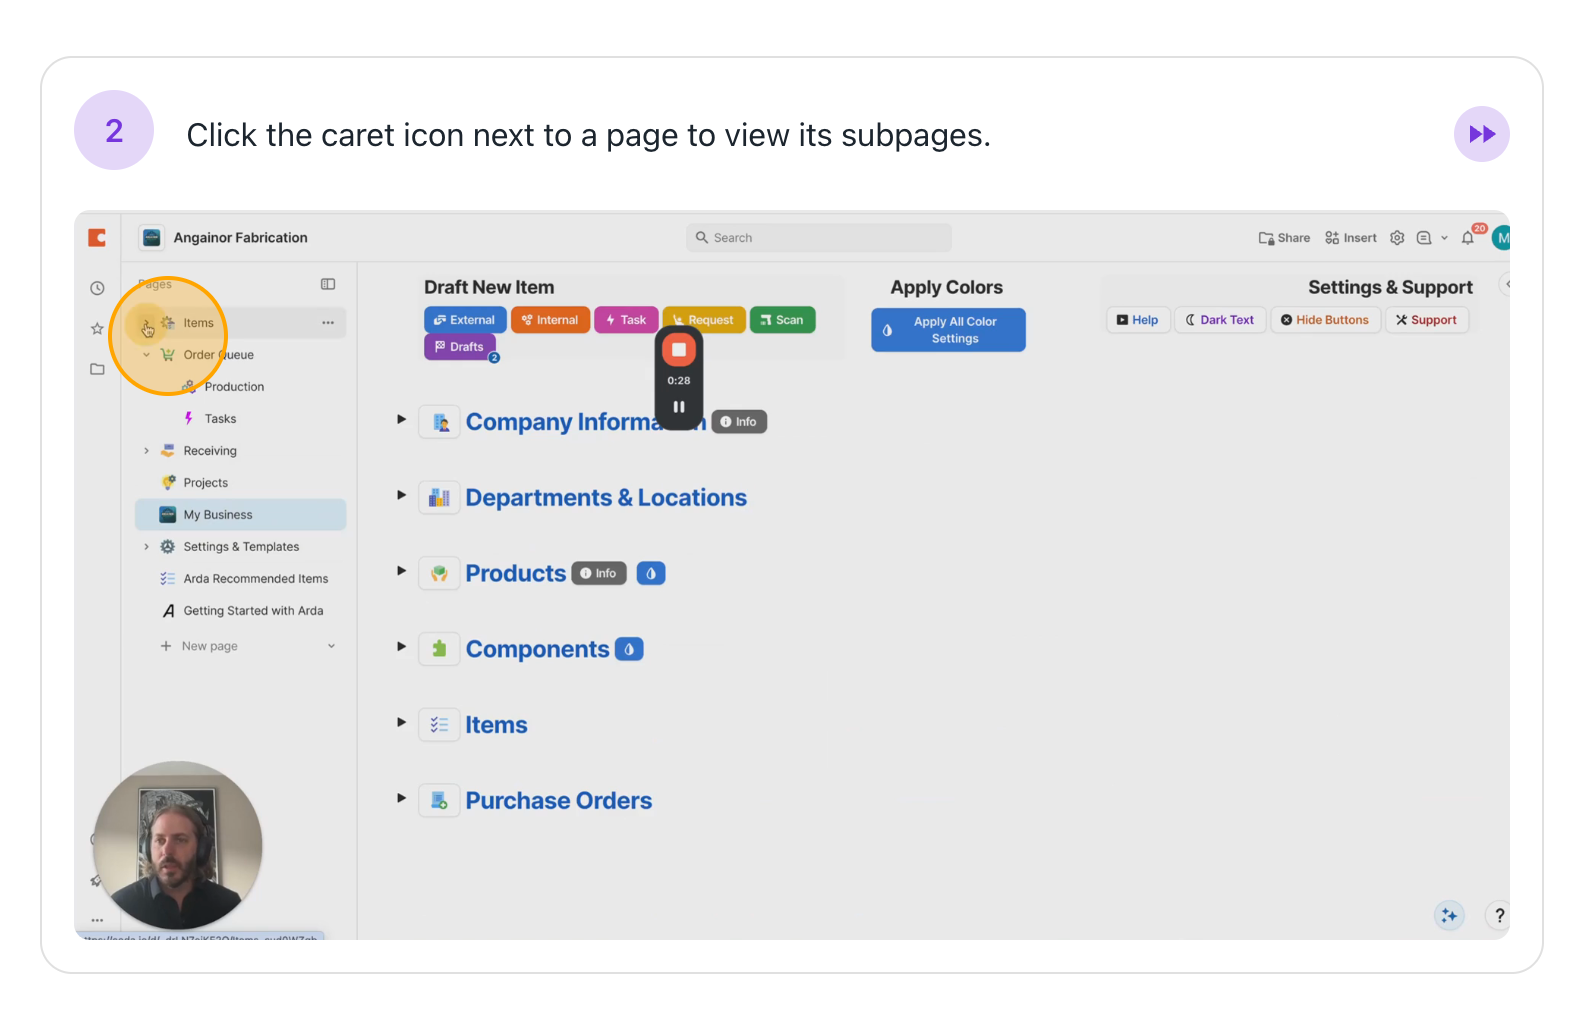
In some cases, you'll see a small caret ">" icon. That means there are some subpages you may or may not need.
For example, if I want to add or edit a supplier, I can go to the supplier page and make the change.

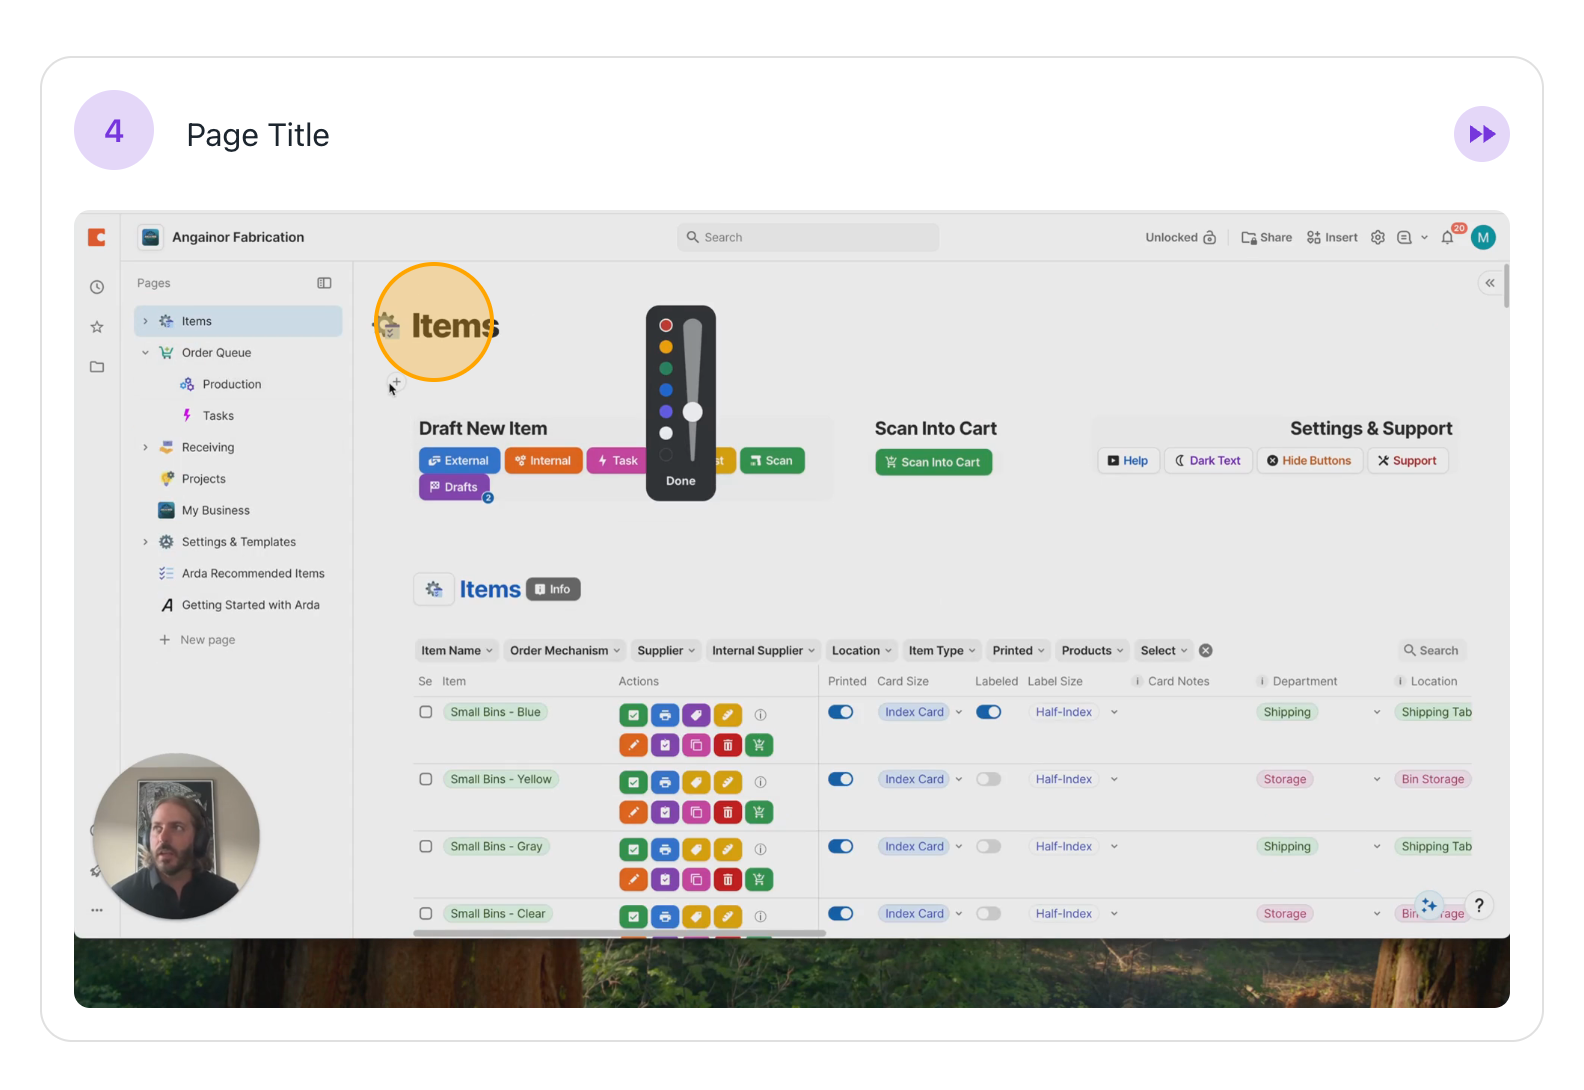
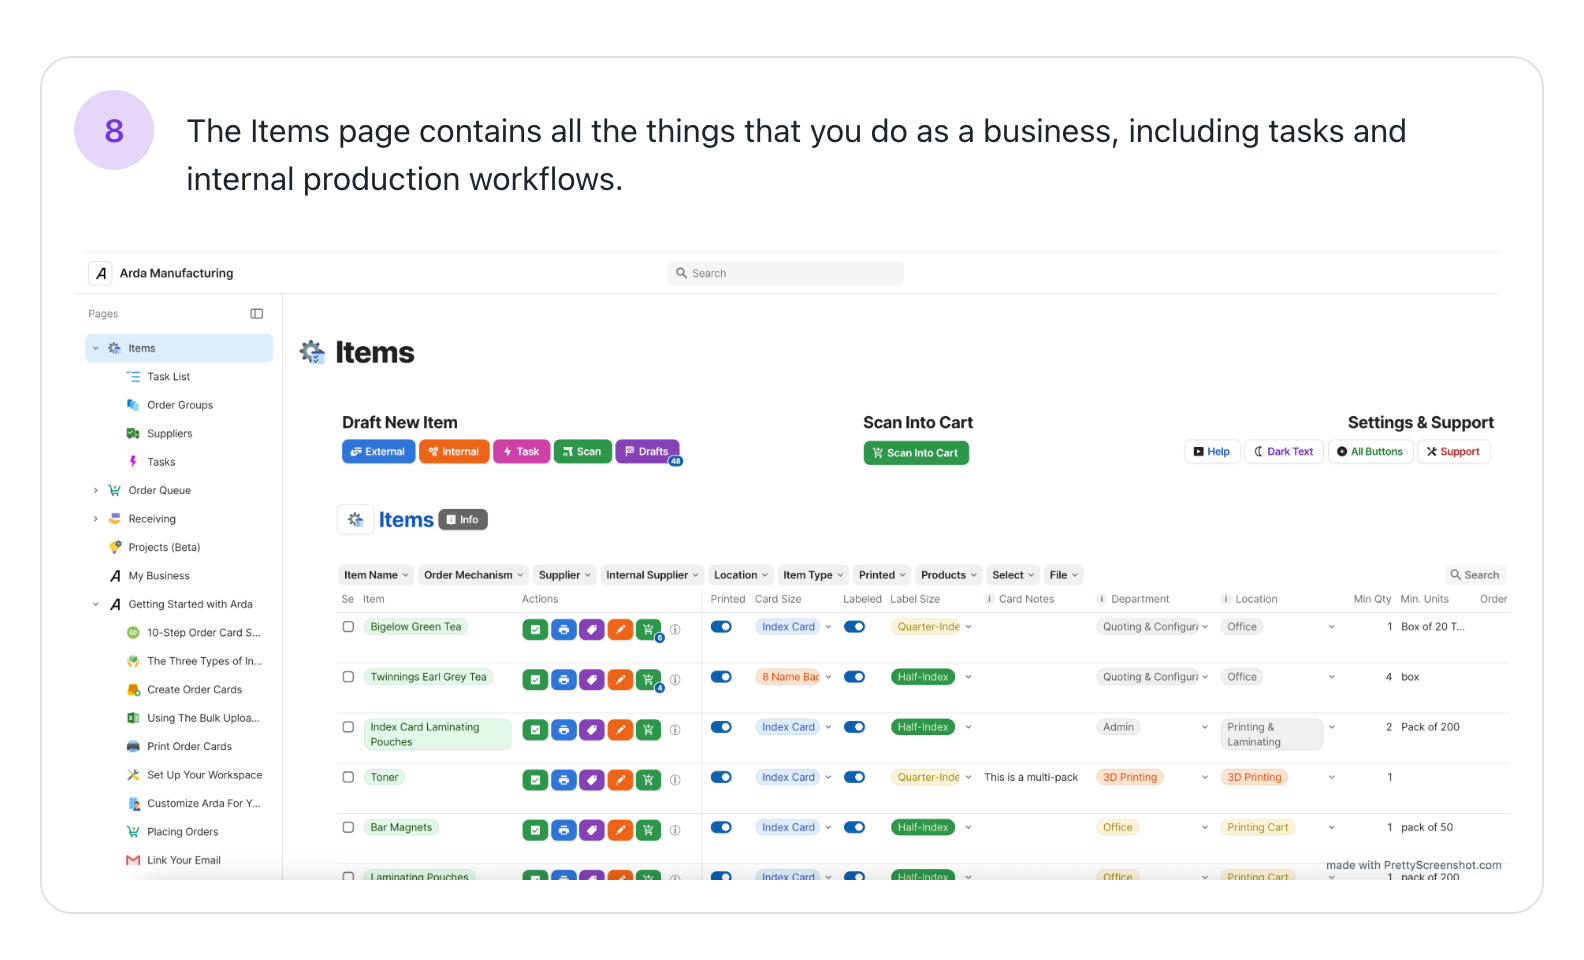
Next, you'll notice a page title at the top indicating your current page. Below that, there are several buttons.
These buttons let you interact with the page, such as scanning items into your cart, creating new items, or managing draft items. You can also submit support tickets, choose which action buttons are visible, and switch between light and dark mode. Many of these options stay available as you move between pages.
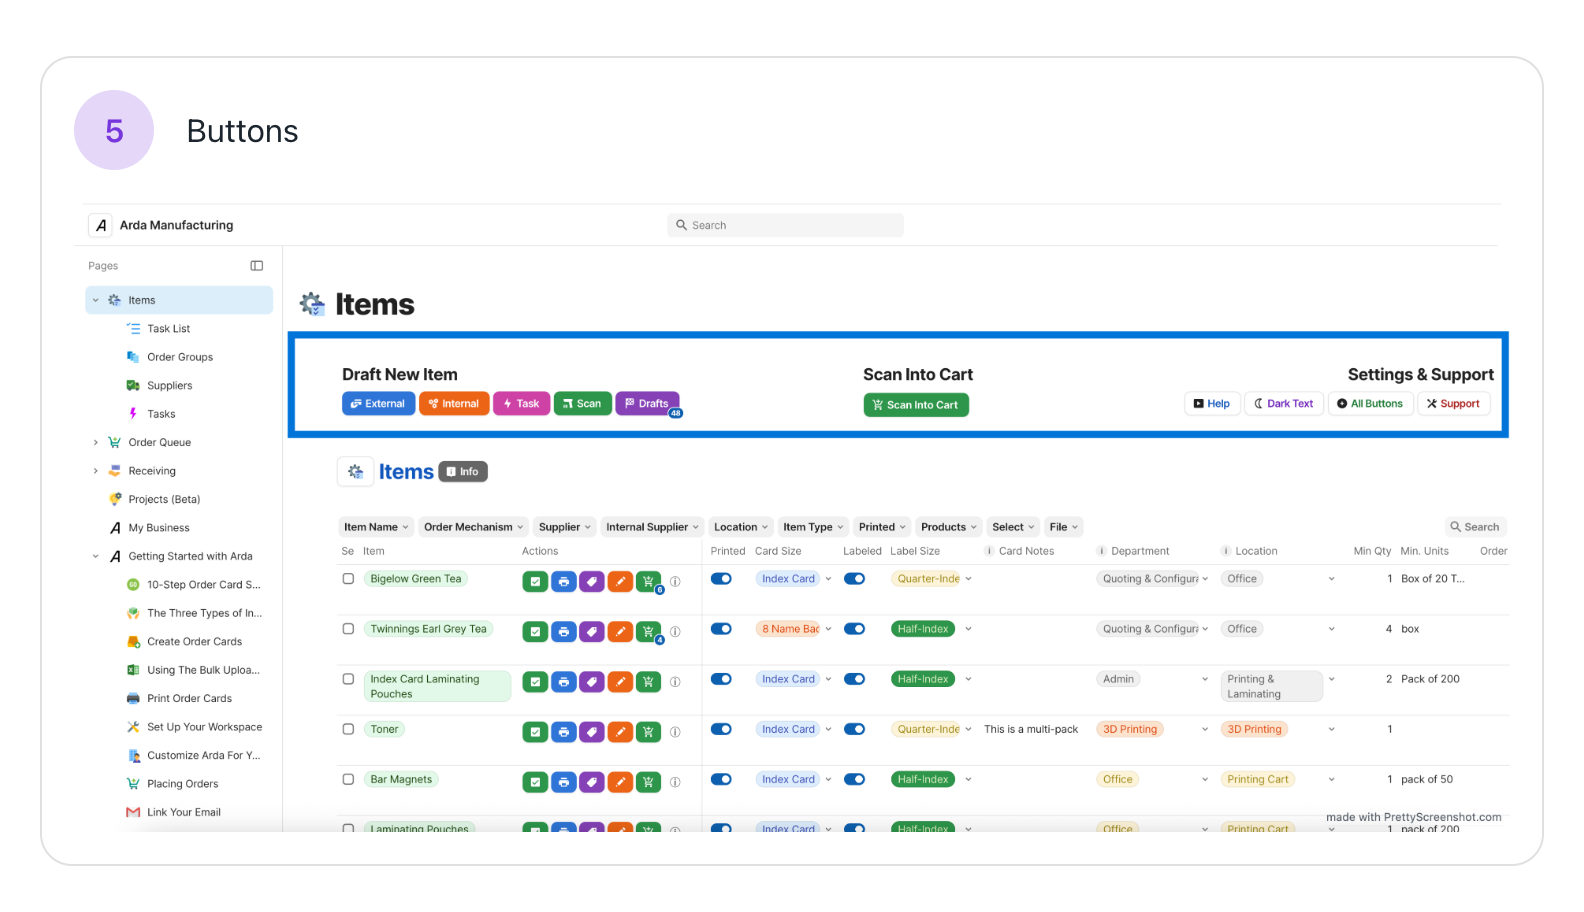
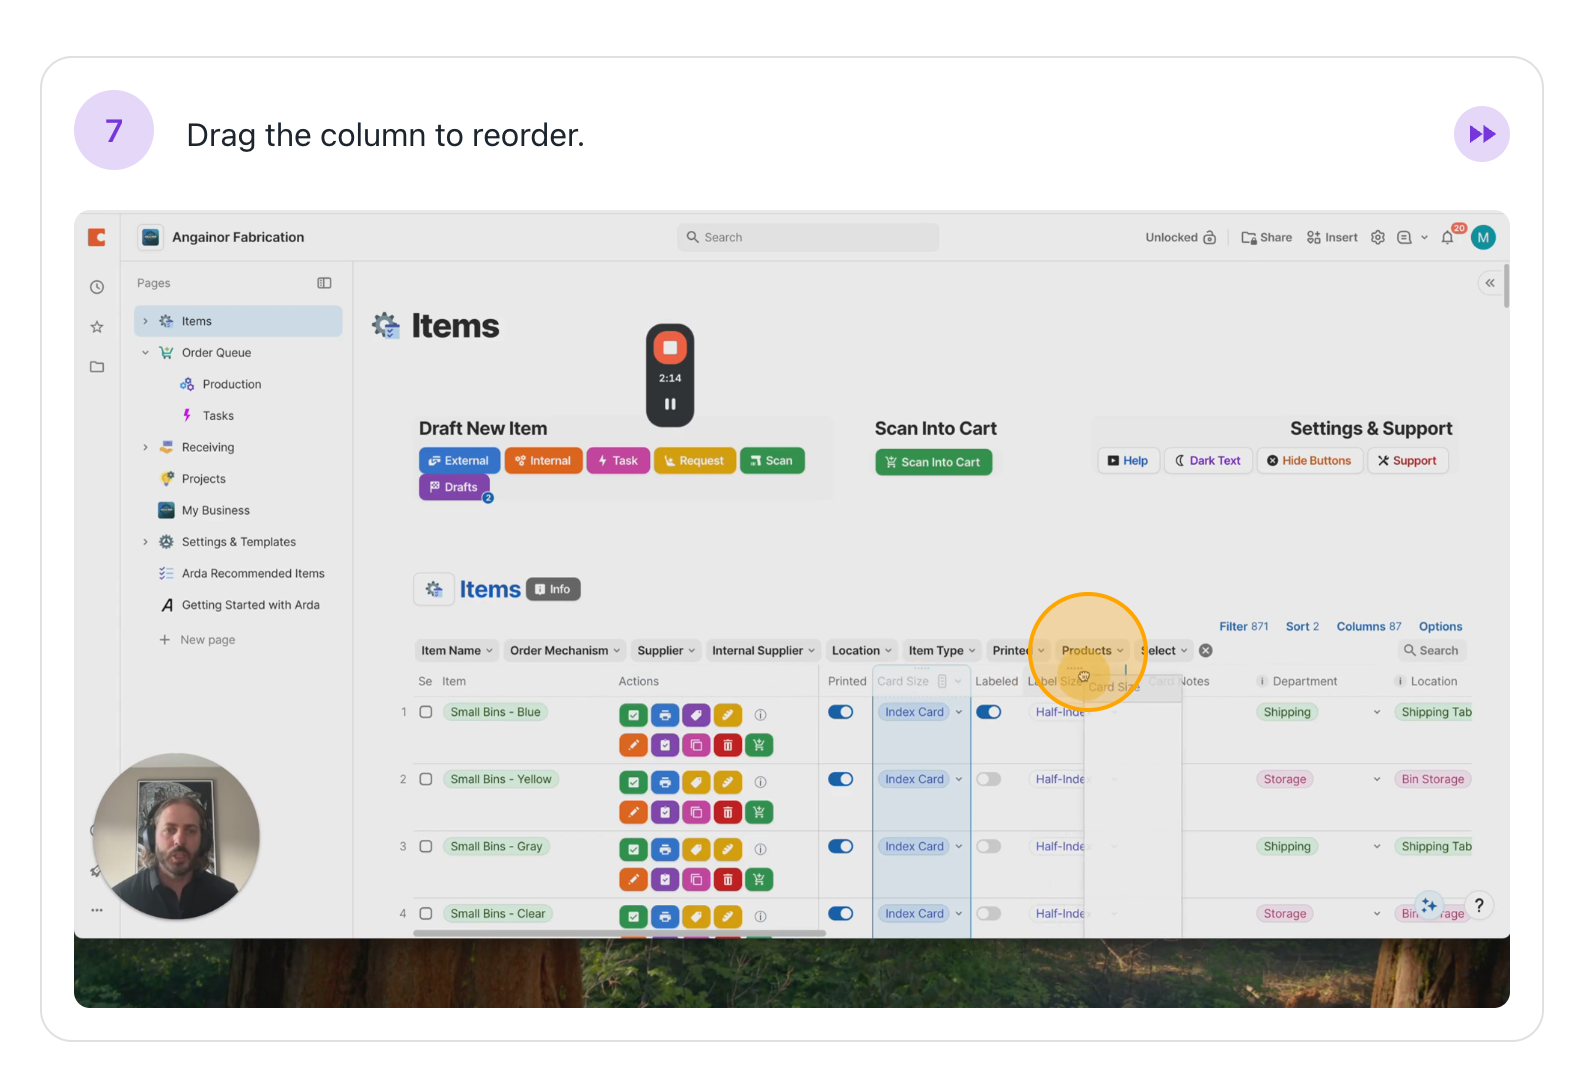
The final section of the page contains tables at the bottom. The content of these tables varies depending on the page you are viewing. In the upper right corner, you'll find the lock/unlock feature. By default, a page is locked. However, this limits some of your interactions. For example, if I want to reorder my table, I need to unlock it first. Then, I can move the columns around.

Page Overview
Let's look at the page sidebar again and go through each item.

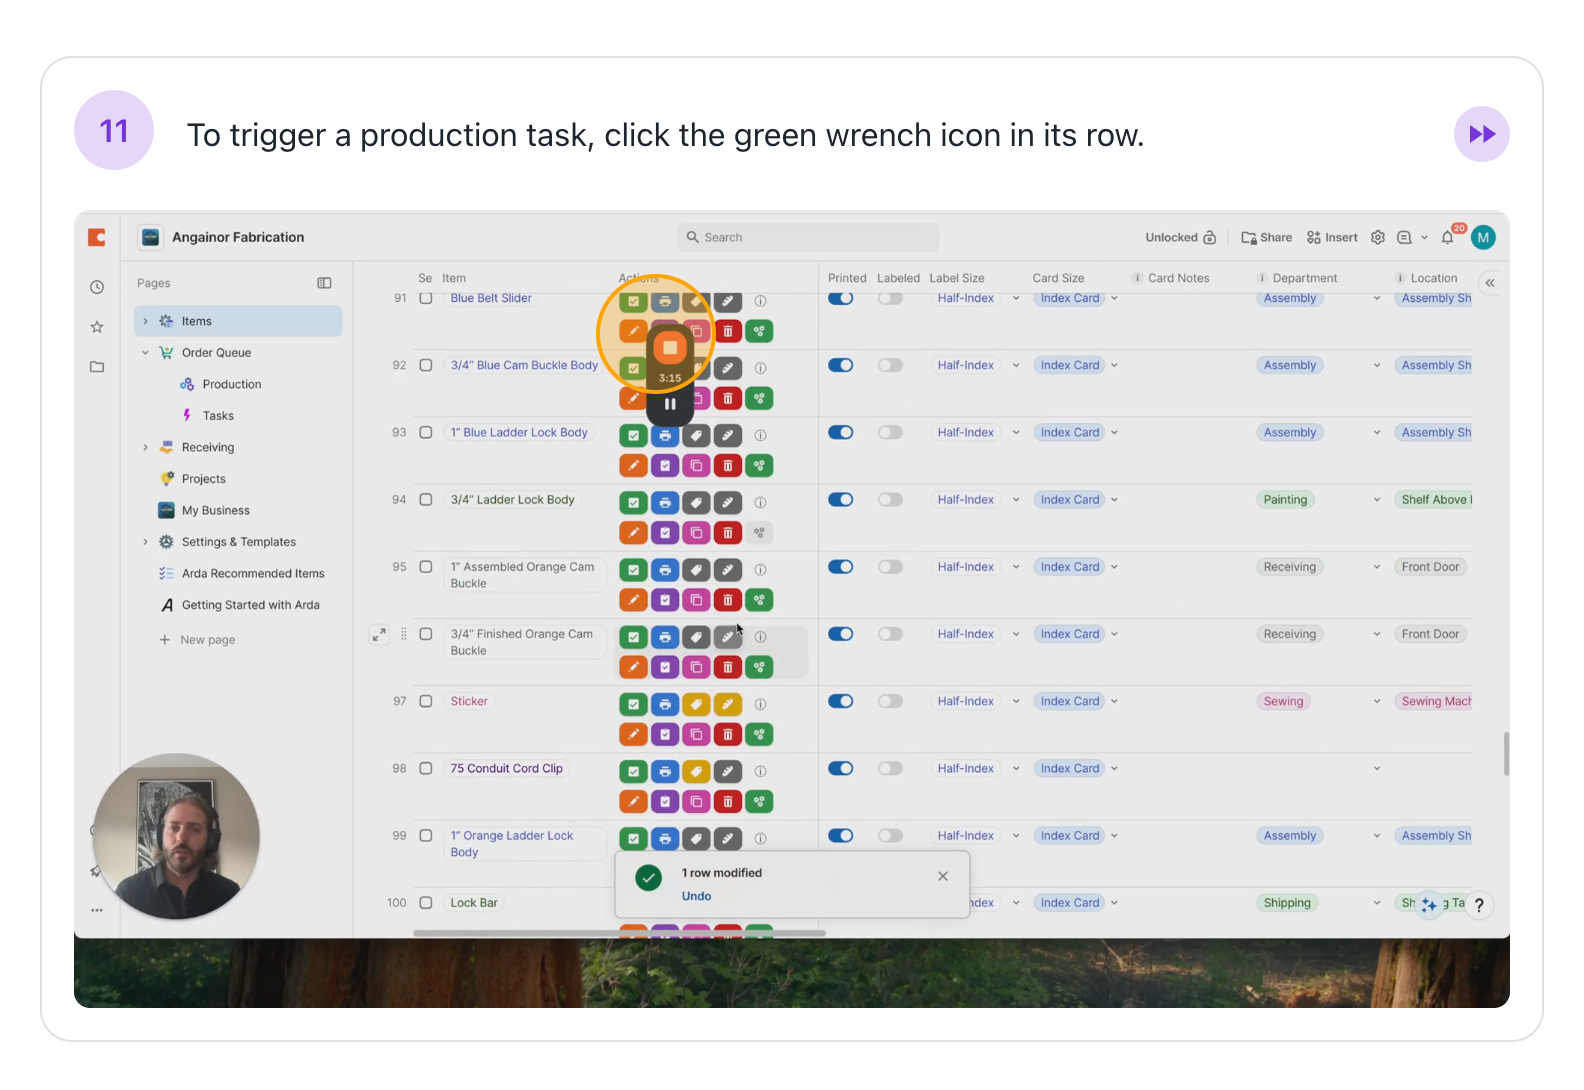
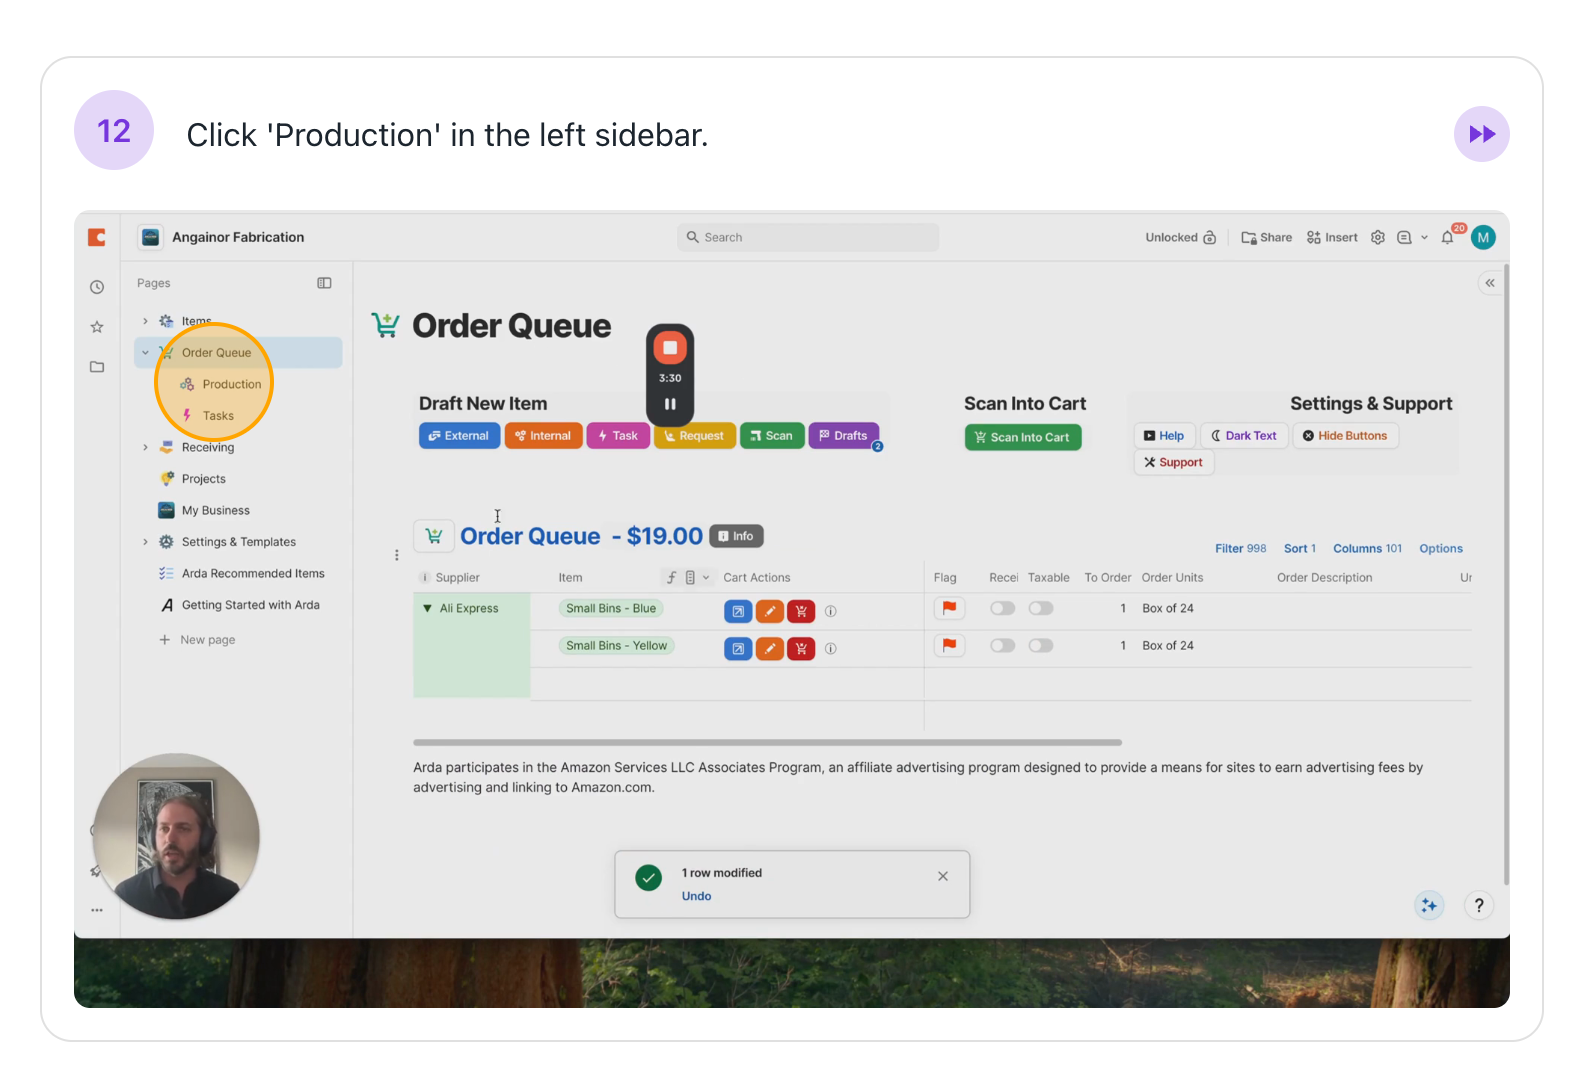
If I have production tasks to trigger, such as making orange cam buckles, I can add them here.
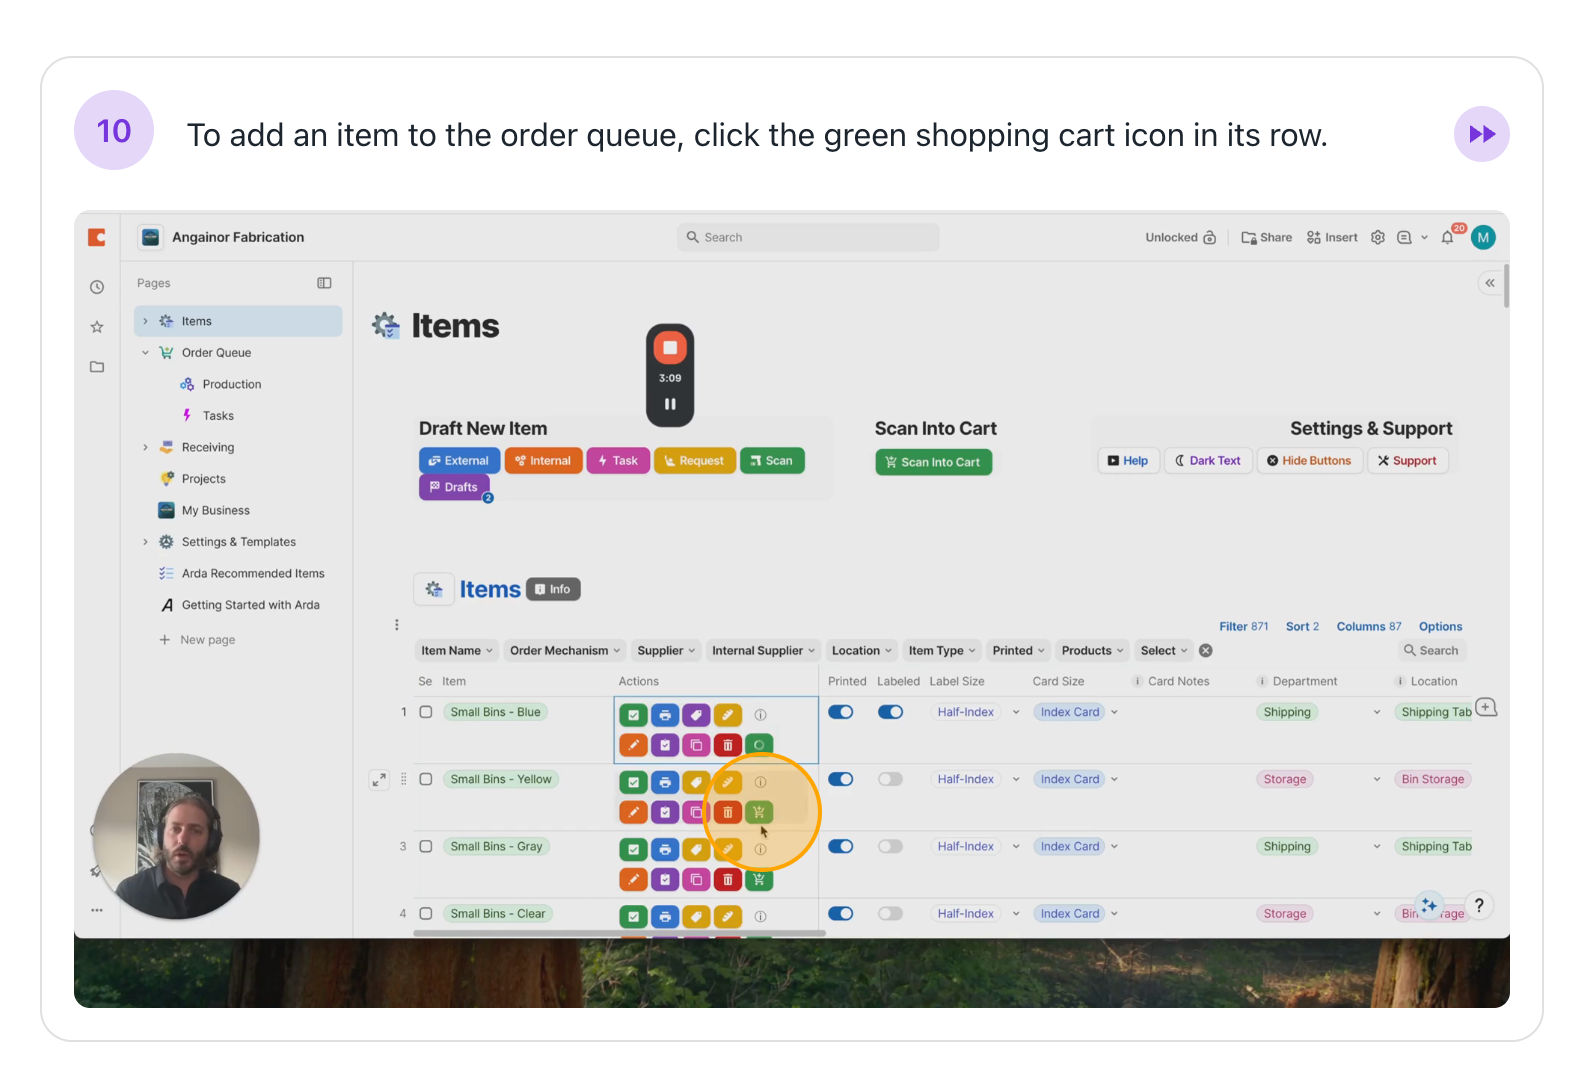
Looking at our page, we can see that the products I need to order are now available. I may have obtained these by scanning cards, or the items I need to produce are here. If I had tasks, they would appear there.
Let's look at the final section, which is the third main category: receiving. In the receiving section, you can track your orders and confirm whether you have received the goods. Pretty self-explanatory. All right, let's move on to the receiving page.
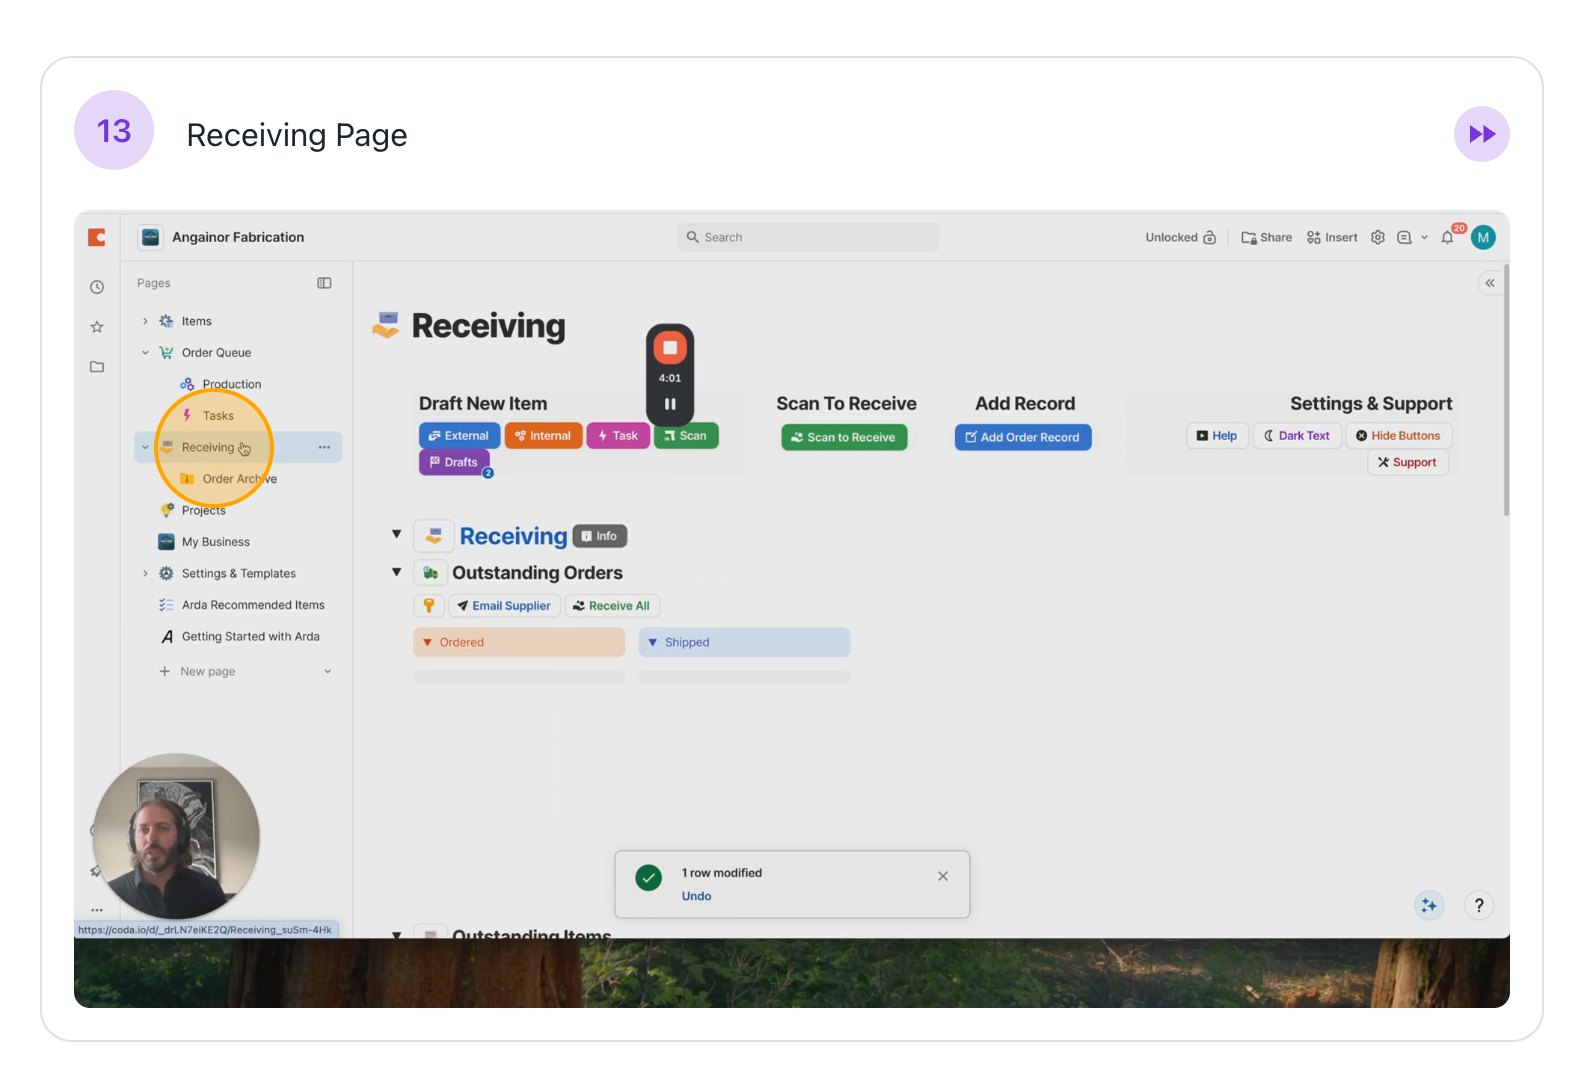
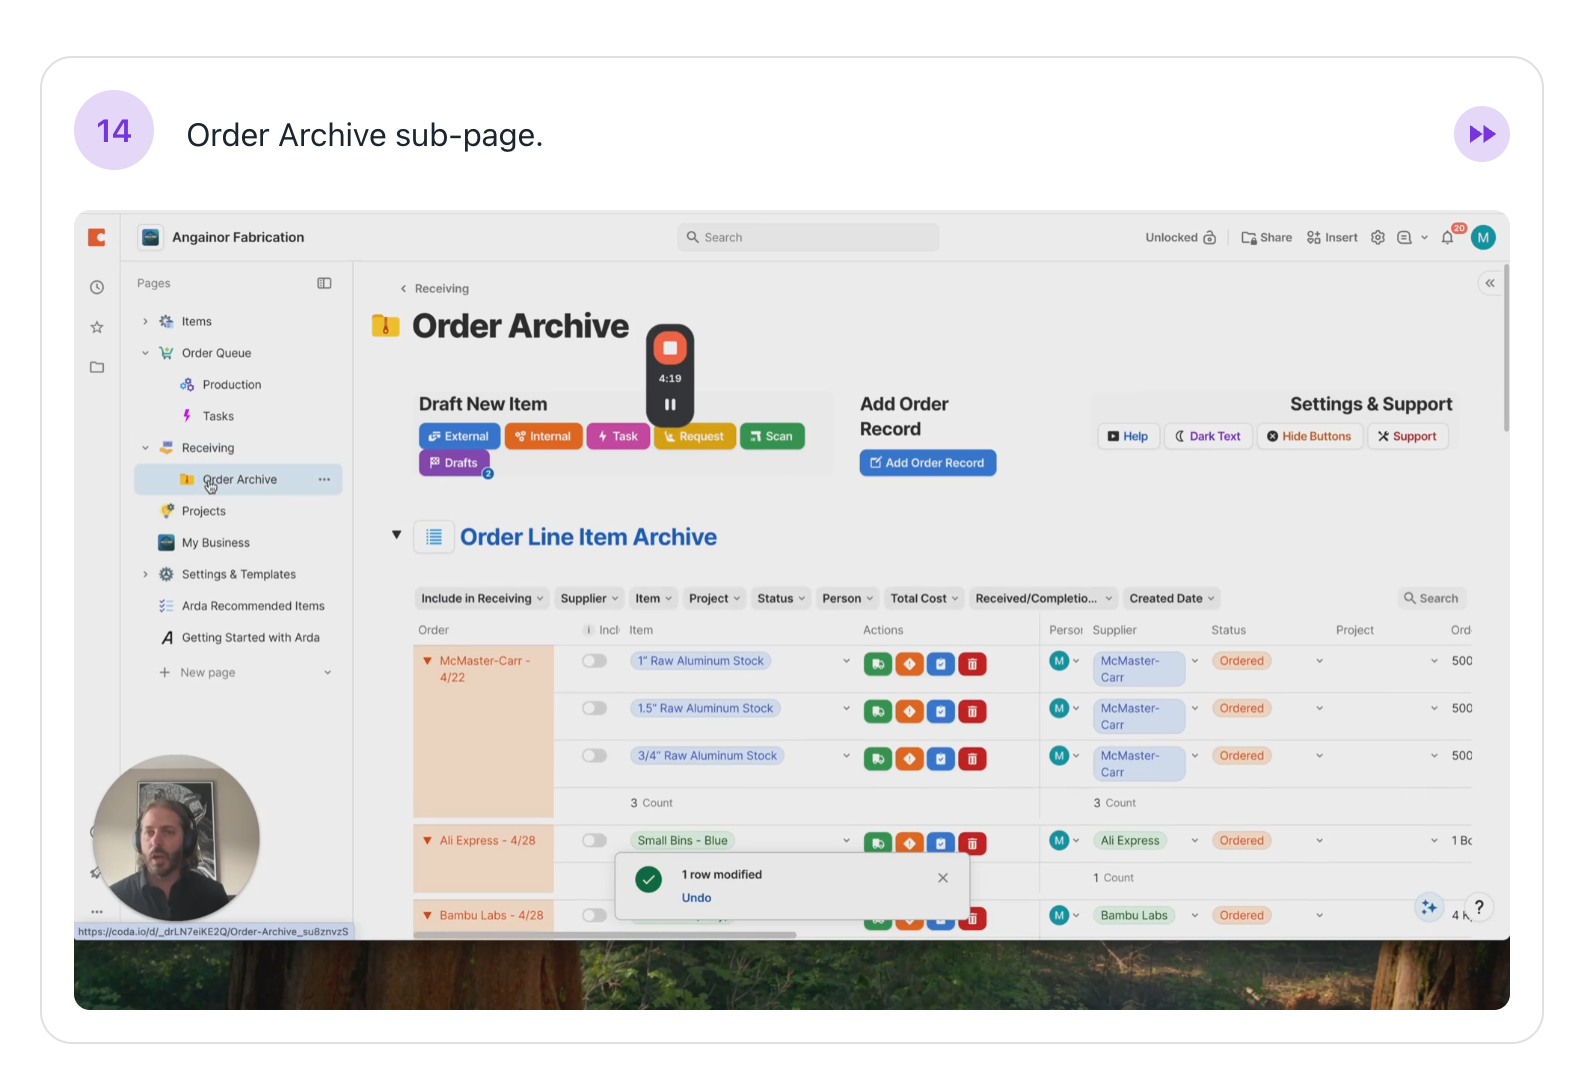
This is where you review the status of your tasks. Specifically, review what you have ordered, what is currently on order, what is expected, and how long it has taken. All of that will appear here. We have a subpage called Order Archive. This page shows your past activity, what you did, and when you did it.
Okay, let's move on to a few of the other pages.
Projects Page
Projects at the highest level allow you to perform or initiate multiple actions simultaneously.
For example, I could create a project that triggers orders, starts production workflows, or assigns tasks. You can configure the projects if any of those three things occur. Continuing down, we see my business.
Projects Page
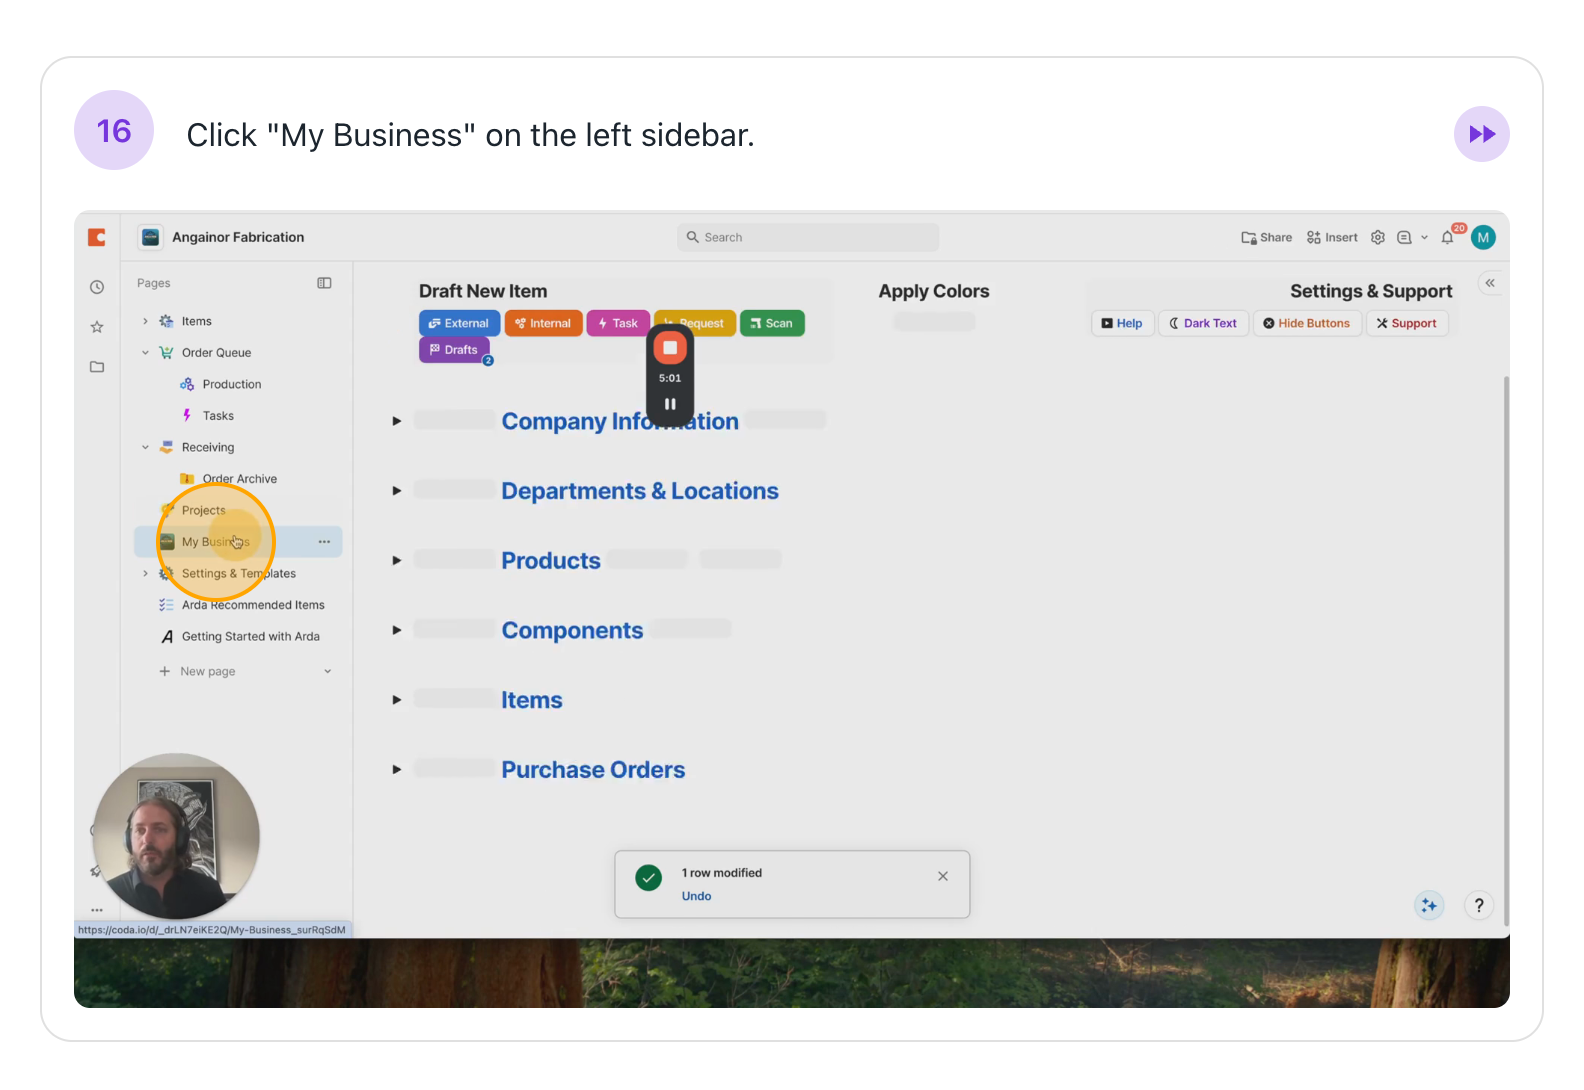
My Business Page
This is the heart of Arda. It is where we configure your business within the platform
We use it to add locations, set up departments, and create products and components for our project workflows. We also set up item types or subtypes and manage some purchase orders.
Setting and Templates
This is where you go if you need to change a setting, such as your default card size. You shouldn't need to interact with this area often

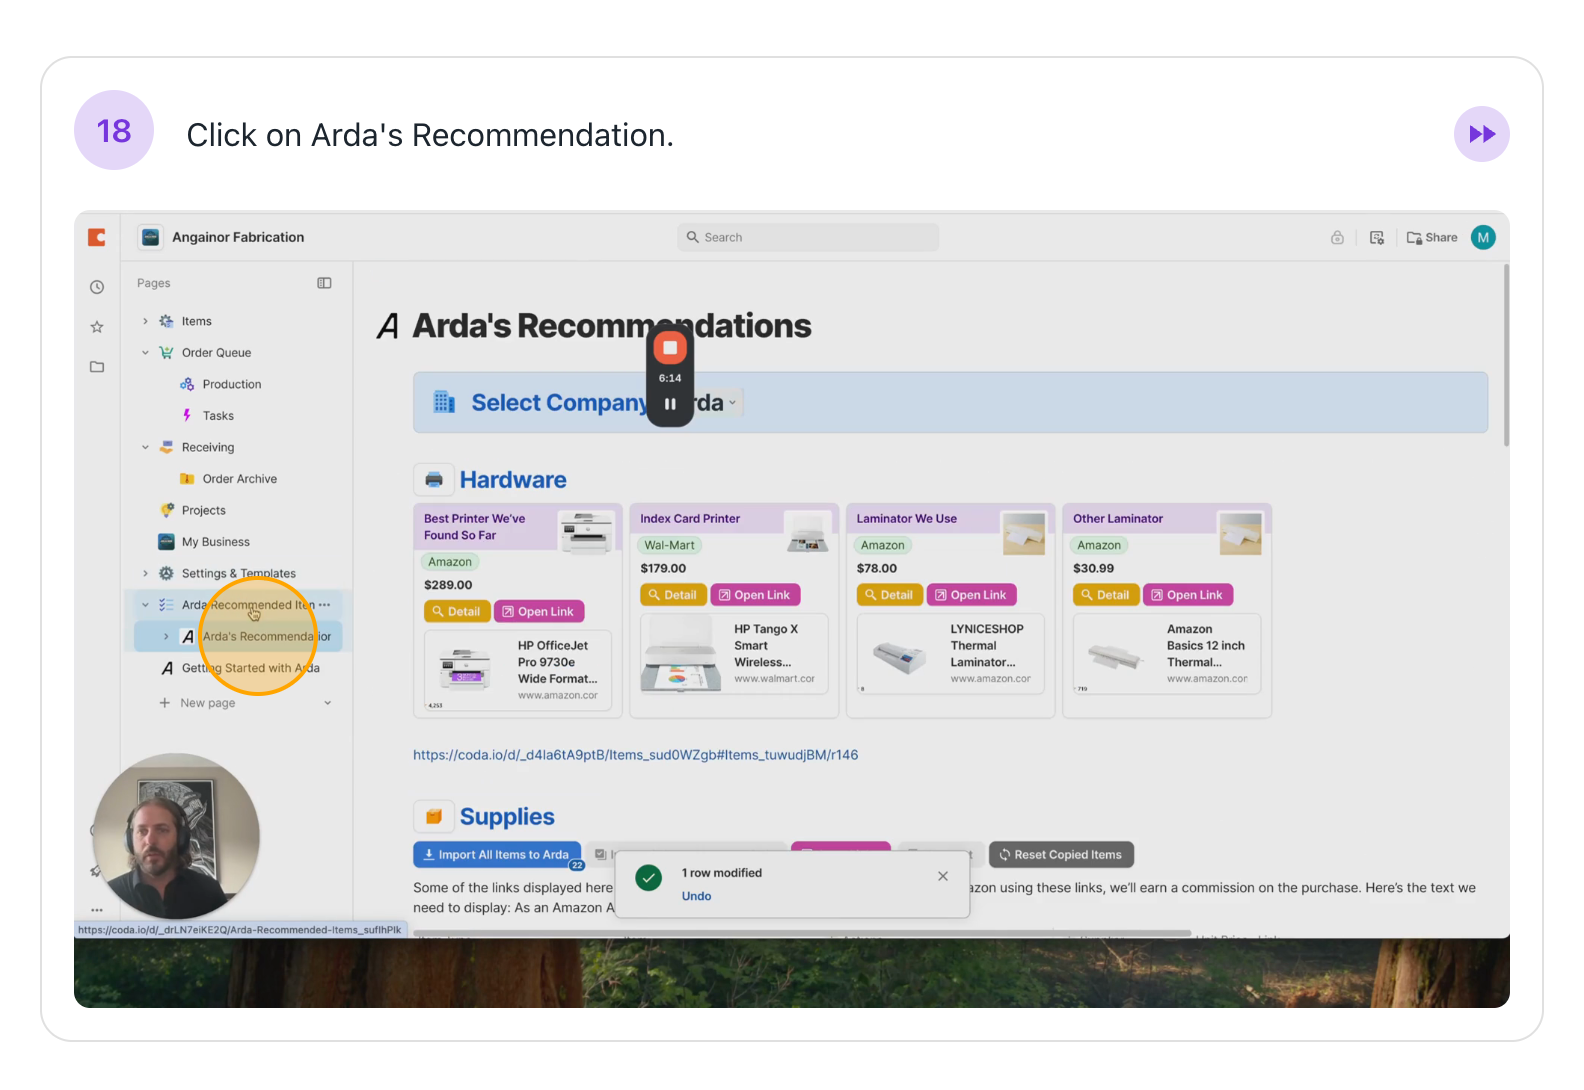
Arda Recommended Items
This is a place you can visit if you need to order anything. We have used these items before, and they have been very helpful. For example, a printer.
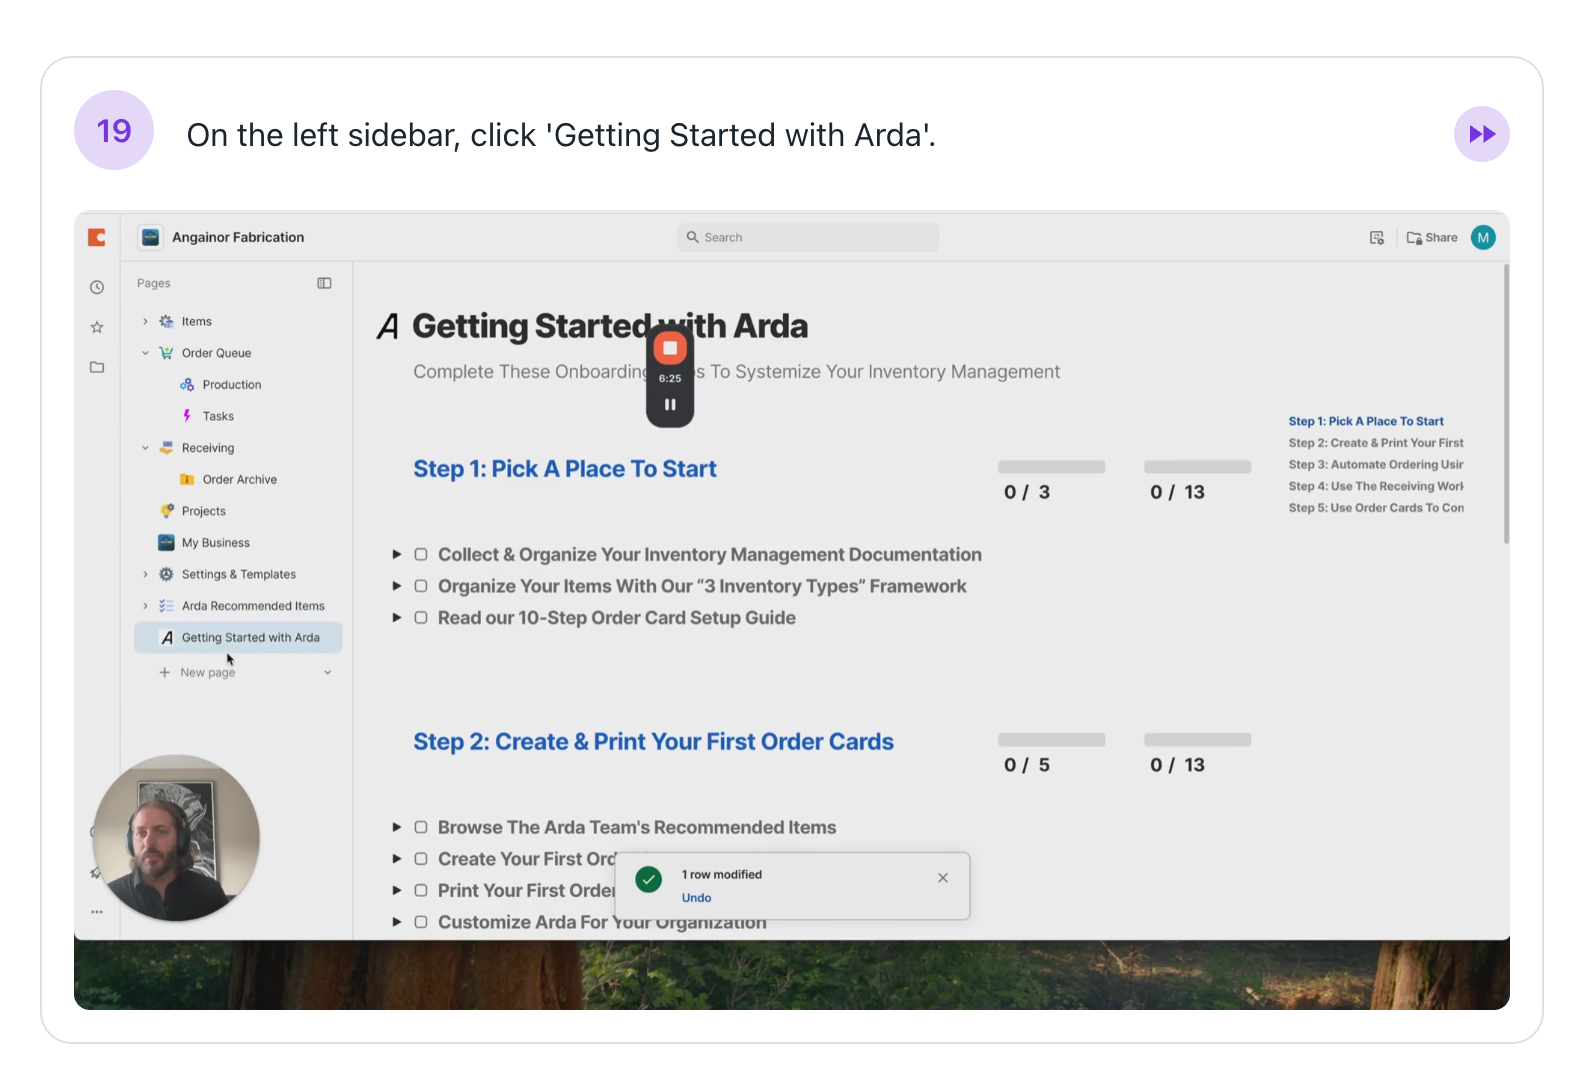
Getting Started With Arda
Finally, we have our Getting Started with Arda section. This is a helpful place to learn how to use the system and access more videos like these.